

Android 4.4.3 KTU84L OTA Available for Nexus 7 2012 Wi-Fi and Wi-Fi+3G
While a number of Nexus devices have tasted the stock Android 4.4.3 firmware released by Google, a few are waiting for their turn. Now, the Nexus 7 2012 model is among the lucky Nexus devices to receive the latest KitKat software.
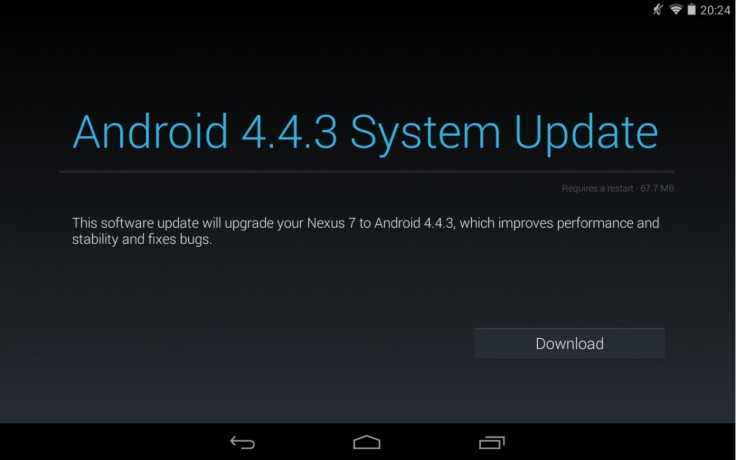
Android 4.4.3 KTU84L firmware is now available for both Wi-Fi and Wi-Fi+3G versions of the Nexus 7 2012 models. Besides, the OTA download links are now available, courtesy Android Police.
Those who wish to install the Android 4.4.3 OTA on Nexus 7, may follow the step-by-step guide. Note that the Nexus 7 should be running Android 4.4.2 to install the new Android 4.4.3 firmware.
IBTimes UK reminds its readers that it will not be held liable for any damage to the device. Before following the installation guide users are advised to verify their devices meet the following requirements.
Pre-requisites
- Before installing stock OTA update, ensure that you have backed up all data of the tablet.
- Install Android SDK on the computer [Click here for a guide on how to set it up.]
- Enable USB Debugging Mode on the tablet. Navigate to Settings>> Developer options and tick USB Debugging option.
- If the Android phone powers off due to lack of battery during the installation process, it could damage the device. Therefore, Nexus 7 should have above 80% battery charge.
- Android 4.4.3 KTU84L KitKat stock firmware works only with Wi-Fi and Wi-Fi+3G variant of Nexus 7 2012. As flashing these on any other variant might brick the device, verify the model number of Nexus 7 by navigating to Settings>> About tablet >> Model number and install firmware accordingly.
- The tablet should be running stock Android 4.4.2 KitKat firmware.
How to install Android 4.4.3 KTU84L on Nexus 7 (2012) Wi-Fi and Wi-Fi+3G
Step-1: Download Android 4.4.3 KTU84ML KitKat OTA update for Nexus 7 to the computer
Download links:
Step-2: Copy the download OTA zip in the platform-tools folder in Android SDK directory
Step-3: Launch a command window inside the platform-tools folder. At an empty space in the folder, press Shift and right-click using the mouse. Select Open Command prompt here option
Step-4: Connect Nexus 7 to the computer using USB cable. Type in the following command and press Enter
adb reboot bootloader
Step-5: The tablet should now boot into Bootloader mode. Use the Volume keys, navigate to Recovery mode and select it using Power button
Step-6: When the Android icon with the red exclamation mark appears, press and hold the Power button followed by Volume Up
Step-7: Nexus 7 should now boot into Recovery mode
Step-8: Using the Volume Down button scroll down to apply update from ADB option and press the Power button to select it
Step-9: Launch the command window again and type in the command following the name of OTA package
adb.exe sideload signed-nakasi-KTU84L-from-KOT49H.ce921efc.zip
or,
adb.exe sideload signed-nakasig-KTU84L-from-KOT49H.21863855.zip
Note: If you are a Mac or Linux user, type the following command
./adb-mac sideload [followed by the OTA file name]
./adb sideload
Step-10: The OTA update should begin installing now
Step-11: When the installation process is completed, select reboot system now option from main recovery menu
Nexus 7 should now be updated and running on Android 4.4.3 KTU84L. Head over to Settings>> About tablet to verify the new software version of the Nexus device.
[Source: Droid Views]
© Copyright IBTimes 2024. All rights reserved.


