

Android 5.1.1 build LVY48C OTA update hits Nexus 6 via Project Fi: How to install


Google has started rolling out the recently rumoured Android 5.1.1 build LVY48C over-the-air (OTA) update for all Nexus 6 phones bought from Project Fi.
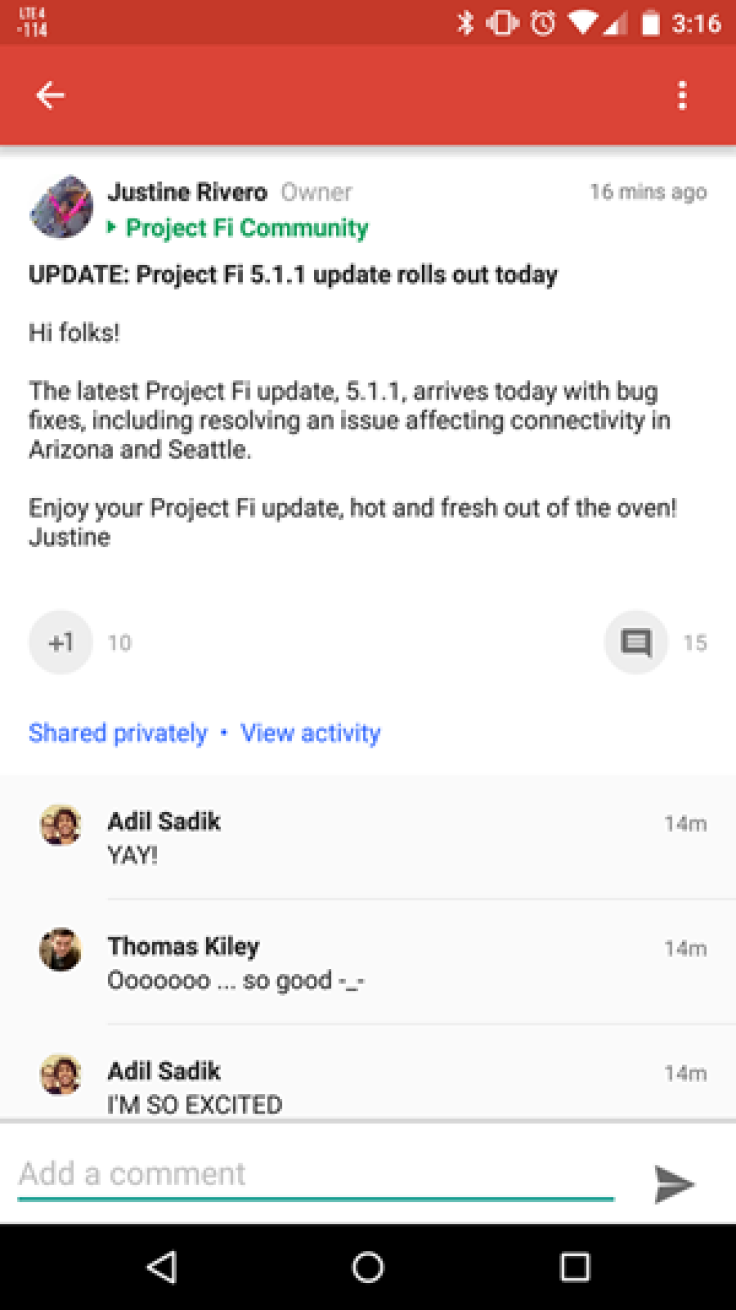
The new Lollipop update brings a host of bug-fixes along with some Project Fi-specific changes to address connectivity issues in certain areas of the US. This information comes from user Justine Rivero, who recently posted on Google+ that the Project Fi 5.1.1 OTA rollout had started for the Nexus 6.
The OTA update is only a mere 92MB in size and works on any Nexus 6 running the previous Lollipop build, LVY47H. Meanwhile, those who are using a non-Project Fi version of the phone may have to wait until Google rolls out the factory images.
IBTimes UK reminds readers that it will not be held liable for any damage to device during or after the Android 5.1.1 Lollipop firmware installation. Users are advised to proceed at their own risk.
Downloads Required
Nexus 6: shamu LVY48C from LVY47H
Pre-requisites
- Back up important data and settings on your Nexus 6 via recovery mode.
- Ensure that your Nexus phone has above 80% battery charge.
- The bootloader of the device should be unlocked; also disable all security locks including pattern lock, pin, etc.
- The Android 5.1.1 OTA update is only for said Nexus devices. Installing the firmware on any incorrect variant could brick the device. Therefore, verify the model number of the device before installing OTA update.
- This is stock Android 5.1.1 build LVY48C released by Google, not leaked firmware.
- Your Nexus 6 should be running Android 5.1 LVY47H Lollipop stock firmware.
How to install Android 5.1.1 Lollipop build LVY48C via adb sideload on Nexus 6
Step 1: Download Android SDK from the Android Development site and follow the instructions on how to install it correctly. For the following process you need the adb and fastboot files which are located in the Platform-Tools folder
Step 2: Enable developer settings and USB debugging
- Navigate to Settings then About phone
- Tap on build number seven times until a dialogue box appears saying you are now a developer
- Return to Settings menu and you should find a new option called Developer options. Click on it
- Ensure that the Developer options are turned on and the USB debugging is checked
- Ensure that Enable OEM unlock is checked, if you are upgrading your Nexus device that has Android Lollipop already installed
- Connect your Nexus 6 to the computer and click OK on the dialogue box that asks you to Allow USB debugging, while connecting to the computer.
Step 3: Place the OTA file in the Platform-Tools directory in order to simplify the process of sending the files to your Nexus phone
Step 4: Ensure that your Nexus 6 is connected to the computer with the device's serial number showing up as a connected device. Then execute the following command: adb devices
You should see the serial number followed by the name of the device
Step 5: Boot your Nexus 6 into bootloader mode or recovery mode by entering the following command: adb reboot bootloader
Or hold Power and Volume Down buttons together while your Nexus phone is turned off.
Step 6: Now press the Volume Down buttons twice until you have scrolled to Recovery mode. Now press the Power button to select it. This will look like your Nexus device is restarting but an image of an Android with a red exclamation mark over it will appear. Now hold the Power button and press the Volume Up button and your device will be in recovery mode.
Step 7: When your Nexus device is in Android system recovery, use the Volume Down button to highlight apply update from ADB and hit the Power button to select it. Now enter the following command
- adb sideload [OTA file].zip
Step 8: The terminal or command prompt will now show a dialogue with the progress of transferring the update to your Nexus phone. Once the update is transferred, you can see the progress bar on the screen
Step 9: Once the update is completed on your Nexus 6, it will restart automatically and boot to normal mode
Your Nexus 6 should now be running the latest Android 5.1.1 LMY48C stock firmware.
[Source: Android Police]
© Copyright IBTimes 2024. All rights reserved.
-

Football Clubs With The Most Arrests And Bans in 2022-23
-

Oil Prices Slip As Investors Eye Israel's Response To Iran Strike
-

Billionaire Declared Missing And Dead In 2018 Is 'Possibly Living In Moscow With Mistress'
-

Wendy's Sued For $20M After 11-Year-Old Gets Brain and Kidney Damage From 'Dirty Meal'


