

Android M preview build ported to Nexus 7 2012 WiFi model: How to install
The Nexus 7 2012 Wi-Fi model codenamed grouper has managed to make it to the Android M developer preview, albeit unofficially.
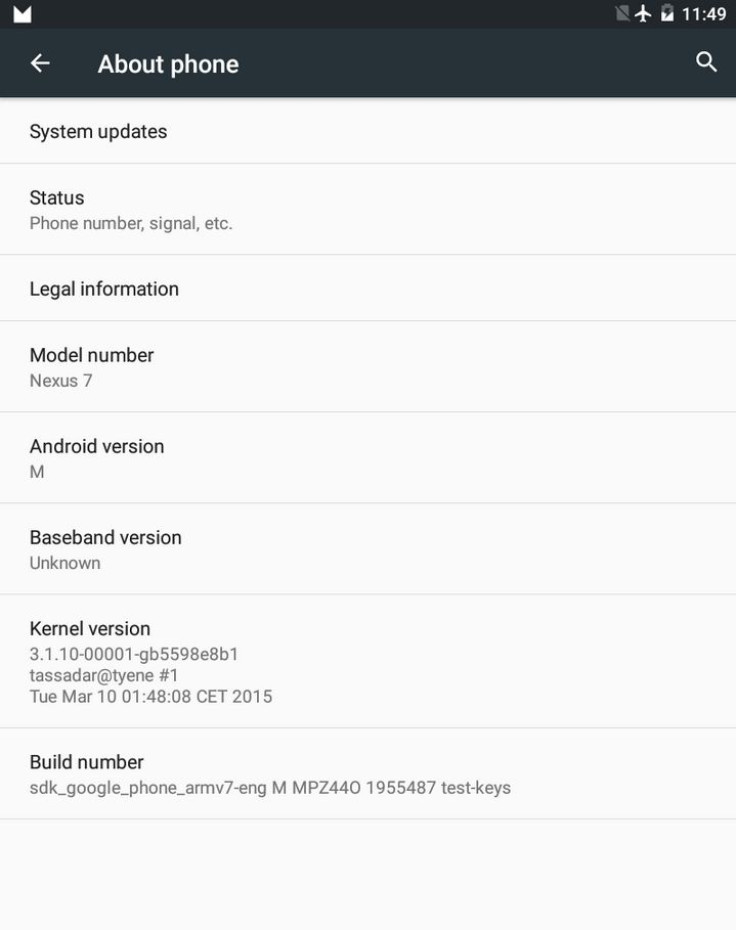
Users can now experience the new Android version on Google's older 7in Nexus tablet, as the tablet has just received the port of Android M developer preview from the emulator SDK image.
XDA forum member 500 Internal Server Error, who tested the preview version as a secondary ROM in MultiROM with the main partition formatted as ext4, claims the other configurations will not work.
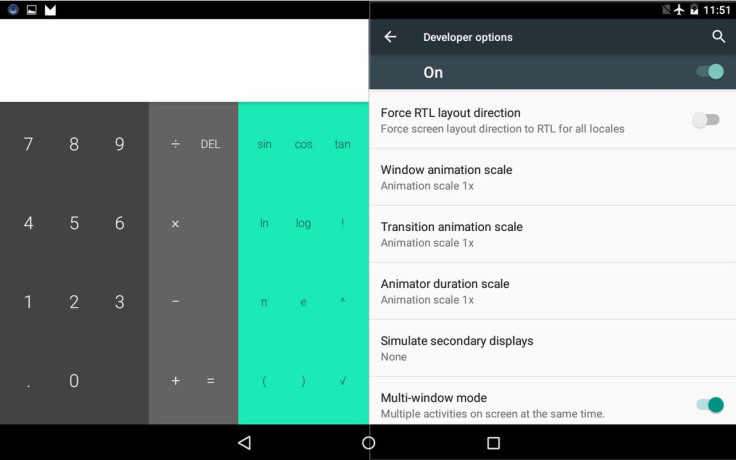
As this is a port, the ROM is not fully functional and has bugs.
What's not working?
- Wi-Fi
- Bluetooth
- NFC
- GPS
- Screenshot function over adb
- SELinux
In terms of security, the developer has pointed out that as the port is from an emulator image which is signed with test-keys, it is a malicious application that can impersonate system apps. Besides, the image is rooted, but is without a Superuser management app. Therefore, do not use this ROM as a daily driver.
Check out the following installation guide if you want to experience the Android M preview ahead of its official release. Create a backup of all important data before you install the preview build.
This port is for the Nexus 7 2012 Wi-Fi model only. Do not try this on any other model. This is a port and can be treated for testing purposes alone.
Neither the developer nor IBTimes UK can be held liable for any damage that occurs during the process. Proceed at your own risk.
How to install Android M developer preview port on Nexus 7 2012 Wi-Fi
Step-1: First install the MultiROM recovery on Nexus 7 (Click here for help)
Step-2: Download Android M preview ROM
Step-3: Connect the Nexus 7 to the PC using USB cable, then move the ROM file to the internal storage of Nexus 7
Step-4: Disconnect the tab and reboot it into recovery mode
- For this, first switch off the tablet
- Press and hold Power and Volume Down buttons together until you reach bootloader mode screen, where you should see Fastboot written on the top
- Press Volume Down twice to reach the Recovery mode and select it using the Power button. The Nexus tablet should be in TWRP recovery mode
Step-5: In the recovery mode, create a backup
Step-6: Return to the recovery mode, select Wipe, Advanced Wipe, Dalvik cache, System, Data and Cache. Then do a swipe on the Swipe to wipe button
Step-7: In MultiROM recovery, go to Advanced>> MultiROM>> Add ROM. Now select the Android M ROM file and do a swipe to confirm installation
Step-8: When the installation is complete, tap on System>> Reboot to reboot the tablet
Hit the development thread over XDA to know more about the Android M preview port on Nexus 7.
Source: AndroidSoul
© Copyright IBTimes 2024. All rights reserved.
-

Football Clubs With The Most Arrests And Bans in 2022-23
-

Oil Prices Slip As Investors Eye Israel's Response To Iran Strike
-

Billionaire Declared Missing And Dead In 2018 Is 'Possibly Living In Moscow With Mistress'
-

Wendy's Sued For $20M After 11-Year-Old Gets Brain and Kidney Damage From 'Dirty Meal'


