Jelly Bean Available for HTC Desire Z [INSTALLATION STEPS]

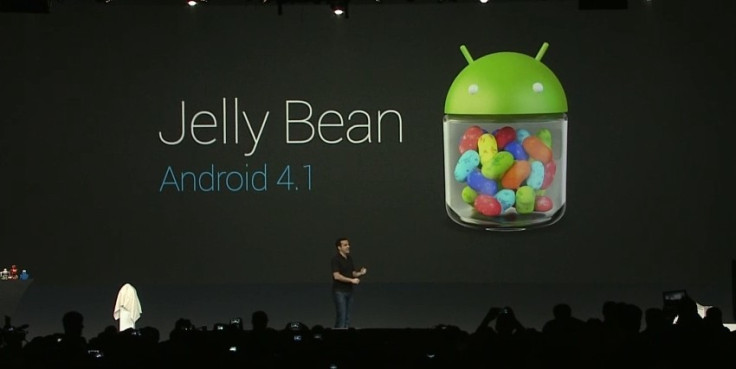
The Android 4.1 software (Jelly Bean) is now available for the HTC Desire Z and it comes with enhanced Google search facilities and a smoother User Interface (UI) that makes switching between apps and the home screen much easier. Now, thanks to XDA senior member xT4Z1N4tRx, you can install the Jelly Bean software on your HTC Desire Z smartphone.
We should note this is only the alpha version, meaning it is ideal for users and developers as a preview of the Jelly Bean software and only a handful of features are working. The rest are under development.
Here is the official changelog from the XDA Developers forum:
Working Features
- Bluetooth
- Touchscreen
- Launcher
- Settings
- Quicker booting times
- Rotation
- Touchkeys
- Keyboard
- Vibration
- HW Acceleration
- Beautiful, Smooth Animations
- Screenshots
- SD Card
Features Not Working or Under Development
- WiFi
- Data/Network
- Sound
- Playing Music
- Everything else
Users are advised this guide is for the HTC Desire Z only. IBTimes UK recommends you back-up important data (contacts, messages, Internet settings, etc) and APN settings, to ensure proper restoration if data connection fails after installing the ROM.
Here is a step-by-step guide to install Android 4.1 Jelly Bean to HTC Desire Z [courtesy: The Android Soul].
How to Install Android 4.1 Jelly Bean on HTC Desire Z
What You Need
- Download and install ClockworkMod Recovery
- Download latest version of Jelly Bean alpha ROM from XDA Developers thread here
- Download Google Apps Package here. This includes features like Gmail, Market and so on (not included in the ROM)
Installation Steps
- Copy downloaded files to SD card on smartphone
- Power off device and reboot to ClockworkMod recovery by holding Volume Down + Power button until phone boots to the bootloader or HBOOT mode. Using volume keys navigate to Recovery option and select using the power button to boot to CWM recovery mode
- Perform Nandroid back-up of older BootROM by selecting Backup and Restore. Tap Backup, again, on next screen and return to the main Recovery menu once backup process is over
- Select Wipe Data / Factory Reset. Tap to confirm and wait till data wipe process completes
- Choose install.zip from SDcard. Browse to location of ROM file on SDcard and select file. Confirm installation and select Install file.zip on next screen to begin ROM installation
- Once ROM is installed, choose zip from SDcard again and choose gapps-jb-20120715.zip to install Google apps package
- Wait for installation to complete and return to Reboot System. Device will reboot to Jelly Bean. Be warned the first boot may take up to five minutes
- If you ever need to return to the previous ROM, boot to recovery, select Backup and Restore and then restore earlier ROM by selecting from list
The alpha version of Android 4.1 Jelly Bean is now installed on your HTC phone. For further information and assistance, head to the official XDA Developers forum thread.
© Copyright IBTimes 2024. All rights reserved.


