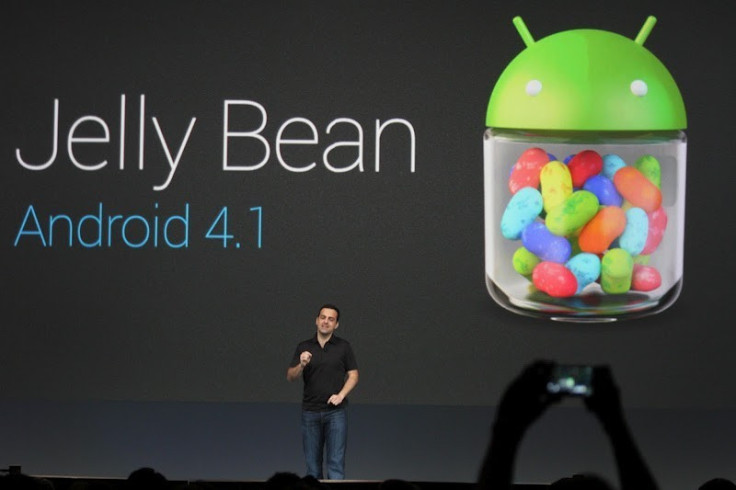
Galaxy S3 I9305 Gets Official Jelly Bean Update with XXALI5 ROM [How to Install]

The Galaxy S3 I9305 is the latest device to get the Jelly Bean update, thanks to the official XXALI5 based firmware for the device on Samsung KIES for Australia (Optus). The full and final version of Android 4.1.1 Jelly Bean ROM for Galaxy S3 I9305 LTE can now be installed using the ODIN flashing tool.
Though the XXALI5 firmware has been released for Australian smartphone users over Samsung KIES, it is supported in other regions as well including Austria, Belgium, France, Germany, Hungary, Italy, Spain and the United Kingdom.
Key Points to Note
- The ROM and the instructions given in the guide are only applicable for the international version Galaxy S3 I9305 model. It will not work with any other device. Verify your device's model number by navigating to Settings > About phone.
- IBTimes UK advises users to back up apps, important data and settings to avoid data loss while installing the Android 4.1.1 update.
- As this is an official build of XXALI5 based Jelly Bean update for Galaxy S3 I9305, you might lose root access soon after installing the ROM. In order to regain full system access and be able to install root apps again, you need to reroot your Galaxy S3 phone.
- The instructions provided in this guide are meant for reference purpose only and do not cover any warranty claims involving device damage or issues arising out of using this firmware update. Users are advised to proceed at their own risk.
Prerequisites
- Ensure that the correct USB drivers are installed for your Galaxy S3 smartphone to enable connectivity with the computer. Download Samsung Galaxy S3 USB drivers.
- Enable USB debugging mode, which helps connect your Android phone to the computer.
- Verify that the phone's battery is fully charged or holds at least 85 percent charge to avoid unexpected device shutdown while flashing the XXALI5 ROM based Jelly Bean update.
- Make sure that your phone is factory unlocked and rooted before proceeding with the firmware installation procedure.
How to Install XXALI5 Based Official Android 4.1.1 Jelly Bean Update on Galaxy S3 I9305
Step 1 - Download Android 4.1.1 I9305XXALI5 firmware for your Galaxy S3 on the computer and extract the zip file.
Step 2 - Download ODIN v1.85 which is needed to install Android 4.1.1 Jelly Bean on Samsung Galaxy S3 I9305.
Step 3 - Power off your phone and boot into Download Mode. To do so, press and hold the Volume Down and Home buttons together, and then press the Power button until you get the construction Android robot icon with a triangle on screen. Press Power button again to confirm entry into Download Mode.
Step 4 - Launch ODIN on your computer and connect your phone to the computer while your phone is still in Download Mode.
Step 6 - If your phone connects successfully, one of the ID: COM boxes will glow yellow corresponding to the COM port number. This step is usually time-consuming. So, leave it alone.
Step 7 - Choose the files that you need to flash/install on your phone. These files may be found among the extracted files in Step 1.
- Click PDA button and choose the file named 'CODE'.
- Then click Phone button and select file named 'MODEM'. Ignore this step if such file is missing.
- Click CSC button and choose file named 'CSC'. Ignore this step if such file is absent.
- Finally, click on PIT and choose the .pit file. Ignore this step if there is no such file.
Step 8 - In ODIN, enable Auto Reboot and F. Reset Time options. As for the Re-Partition option, enable it ONLY if you chose a .PIT file in the previous step.
Step 9 - Click Start button in ODIN. The ROM installation process should begin, which may take a few minutes to complete.
Step 10 - After the ROM is successfully installed, your phone will reboot. When you boot into the home screen, disconnect your phone from the computer.
XXALI5 based Android 4.1.1 Jelly Bean update is now installed on your Galaxy S3 I9305. Go to Settings > About phone to verify the firmware version installed.
[Source: Team Android]
© Copyright IBTimes 2024. All rights reserved.


