

Nexus 10 Receives Android 4.3 JWR66V Jelly Bean OTA Update [Manually Install]
Google has started rolling out Android 4.3 Jelly Bean with build version JWR66V as an Over-The-Air (OTA) software upgrade for its 10in Nexus branding tablet, the Nexus 10.
The Android 4.3 integrates several new features including restricted profile for tablets which enables users to manage per-user access to app and content. It also adds support for Bluetooth Smart, OpenGL ES 3.0 and dial pad autocomplete.
Nexus 10 users who have not received the OTA update yet and wish to install the update manually may follow our step-by-step guide.
IBTimes UK reminds its readers that it will not be held liable for any mishap. Before installing the official build, users are also advised to verify that their tablets meet following requirements.
Pre-requisites
1) Install USB Driver for Nexus 10 to connect the Android device with computer.
2) Enable USB Debugging Mode on the tablet to connect it with the computer and use Android SDK with it. [Press Menu>> Settings>> Applications. From there navigate and click on Development option then check the USB Debugging Mode.]
3) As the tutorial might wipe out all data of the tablet, create a backup. If the device is having any custom recoveries such as CWM/TWRP already installed then backup data using recovery.
4) The Nexus 10 should have above 80% battery charge.
5) The tablet should be factory unlocked and not locked to a particular carrier.
6) The Nexus 10 should be on Android 4.2.2 JDQ39 (the previous firmware) which is not rooted and has stock recovery. Do not proceed if the device does not have Android 4.2.1 JOP40D installed earlier.
7) The device will no longer belong to a rooted version with the installation of official build.
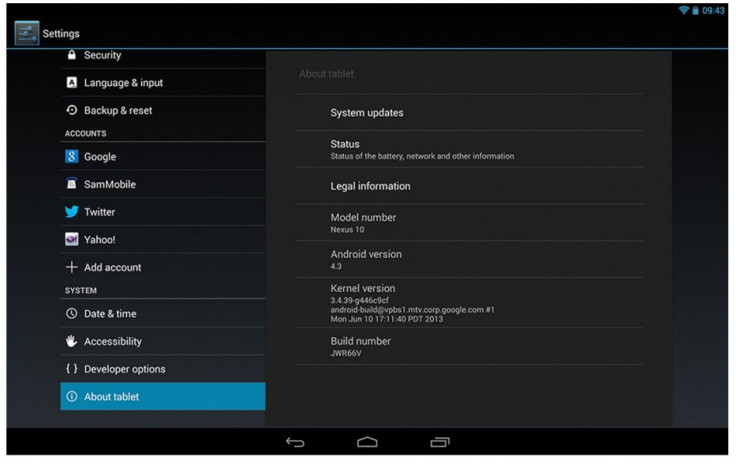
8) This Android 4.3 JWR66V Jelly Bean build is compatible only with the Nexus 10 Wi-Fi codenamed as Mantaray. As flashing this on incorrect variant might brick the device, verify the model number of device by navigating to Settings>> About tablet.
Steps to install Android 4.3 JWR66V Jelly Bean official update on Nexus 10 [For non-rooted]
Step-1: Download Android 4.3 JWR66V Jelly Bean official firmware for the Nexus 10 to the computer. Rename the downloaded file to update.zip [Alternative link from XDA]
Step-2: Connect the Nexus tablet to the computer using USB cable. Then copy the update.zip to the SD card of the device. Ensure that the file is in the root folder of the tablets SD card not in any other folder
Step-3: Unplug the USB cable and then turn the tablet off
Step-4: Boot the device into Bootloader Mode. To do so, turn it on while pressing and holding Volume Up and Power buttons together until the Fastboot menu and START on the top of the screen appears
Step-5: Follow the navigation instructions on the screen. Press the Volume Up button several times until the RECOVERY is seen. Press the Power button to select it
Step-6: An exclamation mark will come. Again hold Volume Up and Power buttons together. The Recovery Mode menu should be seen now
Step-7: Select update from zip file then select the update.zip using the Power button. Confirm installation on the next screen. The installation should now begin
Step-8: When the installation process is completed, the tablet will boot. The device will take about five minutes to boot for the first time
Once the Nexus 10 boots up, it should be updated with Android 4.3 JWR66V Jelly Bean. Head over to Settings>> About tablet to verify the new software version running on the device.
Click here for a guide to root Nexus 10 on Android 4.3 JWR66V Jelly Bean and install CWM/TWRP recovery.
[Source: Team Android]
© Copyright IBTimes 2024. All rights reserved.
-

California Bill May Charge Employers $100 If They Call Or Text You Outside Of Work Hours
-

'You've Been Lied To About Buying Property': Multimillionaire On Why He Rents And Refuses To Buy Real Estate
-

Trump Says He Can End Russia-Ukraine War In 24 Hours By Giving Russia More Ukrainian Land
-

Businessmen Pay $18K To Join This Gruelling 3-day Bootcamp To Become Alphas
-

France Enshrines Abortion As Constitutional Right In World First


