

How to Root Galaxy Nexus on Android 4.3 JWR66V Jelly Bean and Install CWM Recovery [GUIDE]
Google's third generation Nexus smartphone bearing model number GT-I9250 has recently received Android 4.3 Jelly Bean software upgrade with base version JWR66V. The OTA update brings a host of new features including Bluetooth Smart, dialpad auto-complete and OpenGL ES 3.0 support.
Click here for our step-by-step guide to install Android 4.3 JWR66V Jelly Bean on Galaxy Nexus.
Those who have already updated their devices to the latest official firmware and currently looking for a root method may follow our guide below. Along with rooting the device the tutorial also install ClockworkMod (CWM) recovery. The guide uses CWM recovery v6.0.3.4 as custom recovery and SuperSU v1.43 package to root the device. The SuperSU root package is released by recognised XDA developer, Chainfire.
IBTimes UK reminds its readers that it will not be held responsible for any damage to the device. Users are also advised to verify that their devices meet following requirements.
Pre-requisites
1) Install USB Driver for Galaxy Nexus to transfer files between the Android device and the computer.
2) Enable USB Debugging Mode on the phone to connect the Android device with the computer and use the Android SDK with it. [Press Menu>> Settings>> Applications. From there navigate and click on Development option and then check the USB Debugging Mode.]
3) As the tutorial might wipe all the data of the phone, create a backup. If the device is having any custom recoveries such as CWM/TWRP already installed then back up data using the recovery.
4) The Galaxy Nexus should have above 80% of battery charge.
5) The phone should be factory unlocked and not locked to a particular carrier.
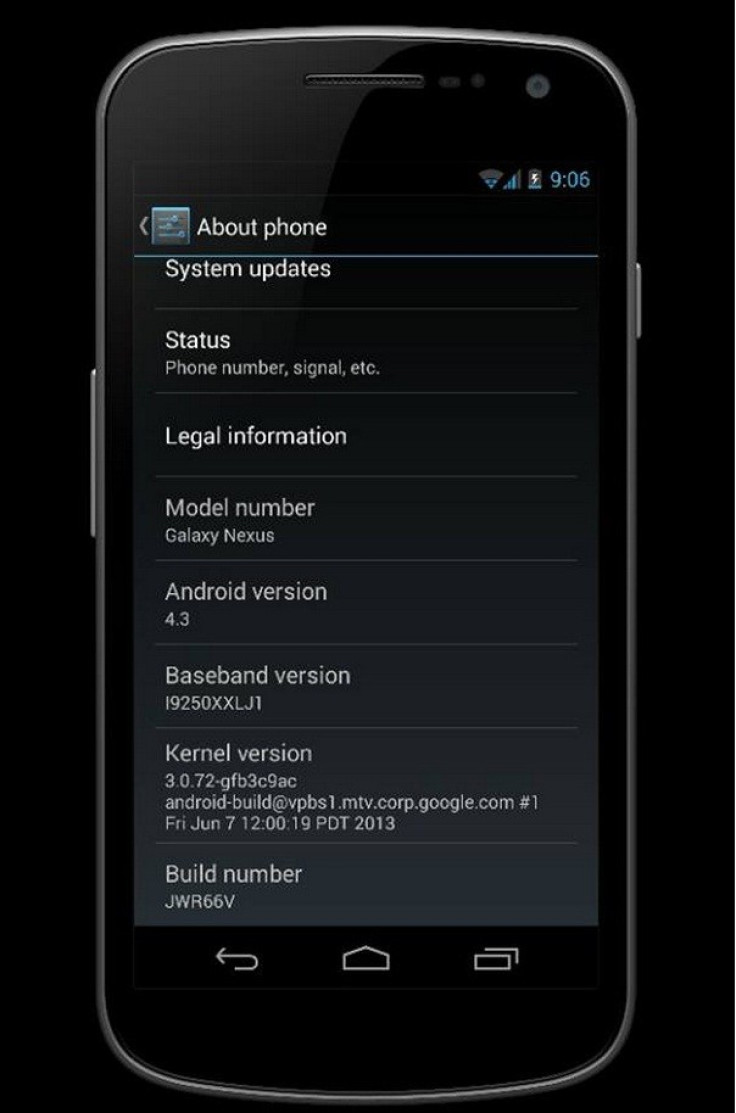
6) The root and recovery files work Galaxy Nexus GT-I9250 running on Android 4.3. Applying this on any incorrect variant is likely to brick the device. Therefore, verify the model number of the Galaxy device by navigating to Settings>> About phone>> Model number.
7) Rooting the device will void manufacturer's warranty. Users can reclaim the warranty back by unrooting it later.
Steps to root Galaxy Nexus I9250 on Android 4.3 JWR66V Jelly Bean and Install CWM Recovery
Stesp-1: Download and install Android SDK from the Android Developers site. Then set it up with downloading platform-tools and USB drivers package in SDK
Stesp-2: Download Fastboot and extract it in android-sdk-windowsplatform-tools directory
Stesp-3: Download SuperSU v1.43 for Galaxy Nexus to the computer
File name: UPDATE-SuperSU-v1.43.zip
Stesp-4: Connect the Galaxy Nexus to the computer using USB cable. Then copy the downloaded UPDATE-SuperSU-v1.43.zip to the SD card of the phone. Ensure that the file is in the SD card root, not in any folder
Stesp-5: Unplug the USB cable form the phone and then turn it off
Stesp-6: Download CWM 6.0.3.4 or TWRP 2.6.0.0. Save the downloaded recovery file in android-sdk-windowsplatform-tools directory
Stesp-7: Boot the phone into Fastboot/Bootloader Mode. Press and hold Volume Up, Volume Down and Power buttons together for a few seconds until some text appears on the phone's screen. This is Bootloader Mode
Stesp-8: Now navigate to android-sdk-windowsplatform-tools directory and open Command Prompt [Shift + Right click>> to open Command Prompt]
Stesp-9: Type the following command and press Enter
fastboot flash recovery recovery-clockwork-touch-6.0.3.4-maguro.img
Stesp-10: Choose RECOVERY from the Fastboot menu and enter Recovery Mode
Stesp-11: In CWM recovery, scroll down to flash zip from SD card, press the Power button to select it
Stesp-12: Press the Power button again to select choose zip from sdcard
Stesp-13: Using the Volume keys navigate to UPDATE-SuperSU-v1.43.zip and select it by pressing the Power button. Confirm installation on the next screen. The installation should start now
Stesp-14: After the installation process is completed, return to the recovery menu and reboot the phone by selecting reboot system now. The phone will boot now and might take about five minutes to boot up for the first time
Galaxy Nexus running on official Android 4.3 JRW66V Jelly Bean should be now rooted successfully. Open the app drawer of the phone and look for an app called SuperSU. To verify the root status further, install Root Checker app from Google Play Store.
Also read: Nexus 10 receives Android 4.3 JWR66V Jelly Bean [How to install]
[Source: Team Android]
© Copyright IBTimes 2024. All rights reserved.
-

Football Clubs With The Most Arrests And Bans in 2022-23
-

Oil Prices Slip As Investors Eye Israel's Response To Iran Strike
-

Billionaire Declared Missing And Dead In 2018 Is 'Possibly Living In Moscow With Mistress'
-

Wendy's Sued For $20M After 11-Year-Old Gets Brain and Kidney Damage From 'Dirty Meal'


