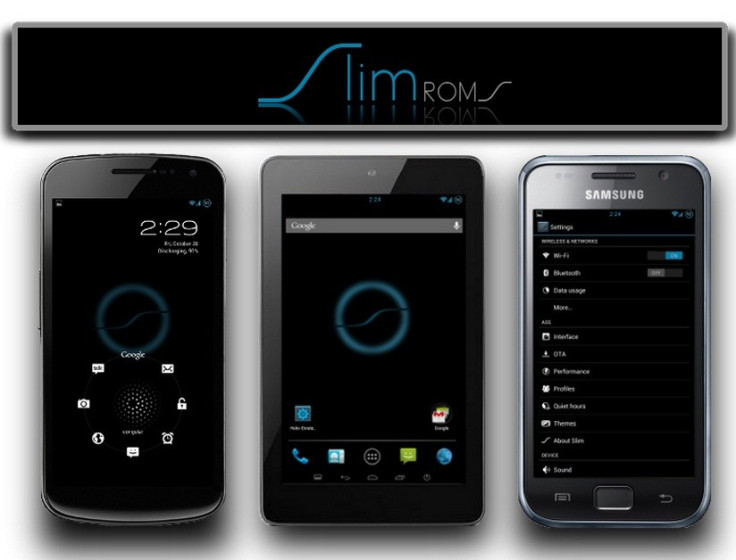
How to Update Galaxy S I9000 to Android 4.2.2 Jelly Bean with SlimBean Build 3 [GUIDE]
Like several Android devices, the new custom ROM released by SlimROMs team is also available for Samsung's first generation Galaxy S smartphone with model number I9000. The SlimBean Build 3 upgrades the Galaxy S to Android 4.2.2 Jelly Bean from Android 2.3 Gingerbread version. Moreover, the latest build brings a host of customised features.

SlimBean Build 3 features and changes
Add Smart Control to Gallery
Add Widget Pager to HW/NavBar/NavRing
Add Easy Contact Selector to MMS
Add Hide Avatar to MMS
Add Expanded Desktop tile
Add Volume tile
Add Power tile/Power button
Add Lock volume keys in silent
Add long press 'Clear all' to clear cache
Add LED notification to Calendar events
Add Email lockscreen widget
Add more shortcuts on keyboard
Add new SuperUser
Add WebSockets to browser
Update DashClock [Latest with Daydream and all]
Added full Russian translations [Thanks to gwinlord]
Add German translations
Device specific
N7100: Update mail drivers
One X: Add LED control
D2: Added vibration strength control to performance settings
Note: The long click 'Clear All' button to force clear cache will free RAM, therefore, do this only when there is need for more RAM.
Fixes
Fix TRDS issues with MMS/contacts/email
Fix signature not applied to QuickReply
Fix call waiting not shown in title
Fix NavRing activation issues
Fix NavBar behavior
Fix lockscreen shortcuts opening wrong app
Fix LTE toggle for some devices
Fix Keymapping on BT headsets
Fix ResourceLeaks
Removed HDR
Kernels built with Linaro are now using Linaro 1303
Device specific
One X: Improved A2DP
One X: Improved Torch
One X: Fix freq cap
I9100G: Statusbar freeze fix attempt
Click here to learn more about the SlimBean Build 3 ROM.
Galaxy S users, who are looking to update their devices to Android 4.2.2 with the SlimBean Build 3 ROM, may follow our step-by-step guide below. The device may encounter with some minor bug issues since the Build 3 ROM is going through development stage.
IBTimes UK reminds its readers that it will not be held responsible for any damage to the device.
Pre-requisites
1) Download and install USB Driver for Samsung Galaxy S on the computer.
2) Enable USB Debugging Mode on the phone to connect the Android device with the computer and use the Android SDK with it. [Press Menu>> Settings>> Applications. From there navigate and click on Development option and ensure the USB Debugging Mode is turned on.]
3) Create back-up for all the data of the phone.
4) The Galaxy S should be rooted and have ClockworkMod (CWM) recovery installed.
5) If the device is stuck on boot or experiencing boot loop then perform 'wipe cache partition' and 'wipe dalvik cache' few more times before rebooting.
6) Verify that the device has above 80 per cent of charge.
7) The phone should be factory unlocked and not be locked to a particular network carrier.
8) The SlimBean Build 3 ROM is only compatible with Samsung Galaxy S I9000, installing this on incorrect variant might brick the device. Therefore, verify the model number of the device by navigating to Settings>> About Phone.
Steps to install SlimBean Build 3 Android 4.2.2 Jelly Bean ROM on Galaxy S I9000
1) Download SlimBean Build 3 Android 4.2.2 Jelly Bean ROM for Galaxy S to the computer
2) Download Google Apps package
3) Connect the Galaxy S to the computer using USB cable. Then copy both the downloaded zip files to the SD card of the device
[Note: Do not extract any files.]
4) Disconnect the phone from the computer and then switch it off
5) Now boot the phone into CWM recovery by pressing and holding Volume Up, Home and Power buttons together until the Samsung logo appears on the screen. Leave all three buttons for few seconds and hold them again. The CWM recovery screen will appear soon
[Note: Use Volume keys to browse between options in the recovery mode and the Power button to select the desired option.]
6) In recovery mode, perform a Nandroid backup of the preset ROM which can be restored later if the new build does not work or when users wish to return to the previous ROM. To perform backup, select 'Backup and Restore' then on the next screen select 'Backup' again. After the backup is completed, go back to the main recovery menu
7) Perform data wiping task by selecting 'wipe data/factory reset,' then select 'Yes' on the next screen to confirm the action. Wait for few minutes until the data wipe is complete then return to the CWM recovery menu. From there select 'wipe cache partition' and after the wiping process is done, select 'wipe dalvik cache' under the advance option to perform Dalvik cache wiping
8) Select 'install zip from sdcard' then select 'choose zip from sdcard.' Navigate to the SlimBean Build 3 ROM zip file which was copied to the SD card. Select it pressing the Power button and confirm installation by selecting 'Yes' on the next screen. The ROM installation will begin now
9) After the ROM is installed, follow the similar procedure (step-8) to install Google Apps zip
10) When the installation process is completed, go to the main recovery menu and select 'reboot system now' to reboot the phone and boot up into the customised Jelly Bean ROM. The first boot will take some time
[Note: Togo back to the previous ROM, boot the device into recovery, select 'backup and restore' then restore the ROM by selecting it from the list.]
After the Samsung Galaxy S I9000 boots up successfully, it should be running on SlimBean Build 3 Android 4.2.2 Jelly Bean ROM. Head over Settings>> About Phone to verify the software version of the device.
Click here for step-by-step guide to install SlimBean Build 4.2 Android 4.2.2 Jelly Bean ROM on Samsung Galaxy S I9000.
[Source: Android Jinn]
© Copyright IBTimes 2024. All rights reserved.


