

Update Nexus 6 to Android 5.1 Lollipop LMY47D pre-rooted ROM without extra mods and features

Google officially unveiled the new Android Lollipop version 5.1, an update to Lollipop, to improve stability and performance. It offers a few new features such as support for multiple SIM cards, device protection and high definition voice calling on compatible phones.
Also included in this update is the ability to join Wi-Fi networks and control of paired Bluetooth devices directly from Quick Settings.
The new Android version with build LMY47D is already making its way through the Nexus line-up including the Nexus 6. With the installation of the stock build, you will lose root access on your device. But if you don't want to lose root and are looking for a pre-rooted stock Android 5.1 firmware for the Nexus 6, renowned XDA developer, scrosler has the perfect solution.
The developer has built the stock Android 5.1 LMY47D rooted ROM, based 100% on the stock Google image with no additional features and mods. He has also shared the download links for the radio and bootloader files, which can be installed through TWRP recovery, like any other flashable recovery files. Check out the changelog for the pre-rooted Android 5.1 stock ROM.
Preface
- Stock Rooted, Busybox and init.d support already built
- This is based 100% on the stock Google image
- You can get the radio and bootloader from here
Features
- Stock
- Powered by SuperSU by Chainfire
- Busybox with init.d support
- No added features or mods
- Persistant ADB
- Decrypted boot.img
This ROM seems to be smooth and fast, according to those who have flashed it on their Nexus 6.
"Running without any hiccups, Verizon VoLTE working flawlessly," said forum member santanac.
Check out the following installation guide if you want to install the pre-rooted Android 5.1 ROM on Nexus 6.
Important points
- Create a backup of all your important data as this process might wipe out everything. You can do so using any custom recovery on your Android device.
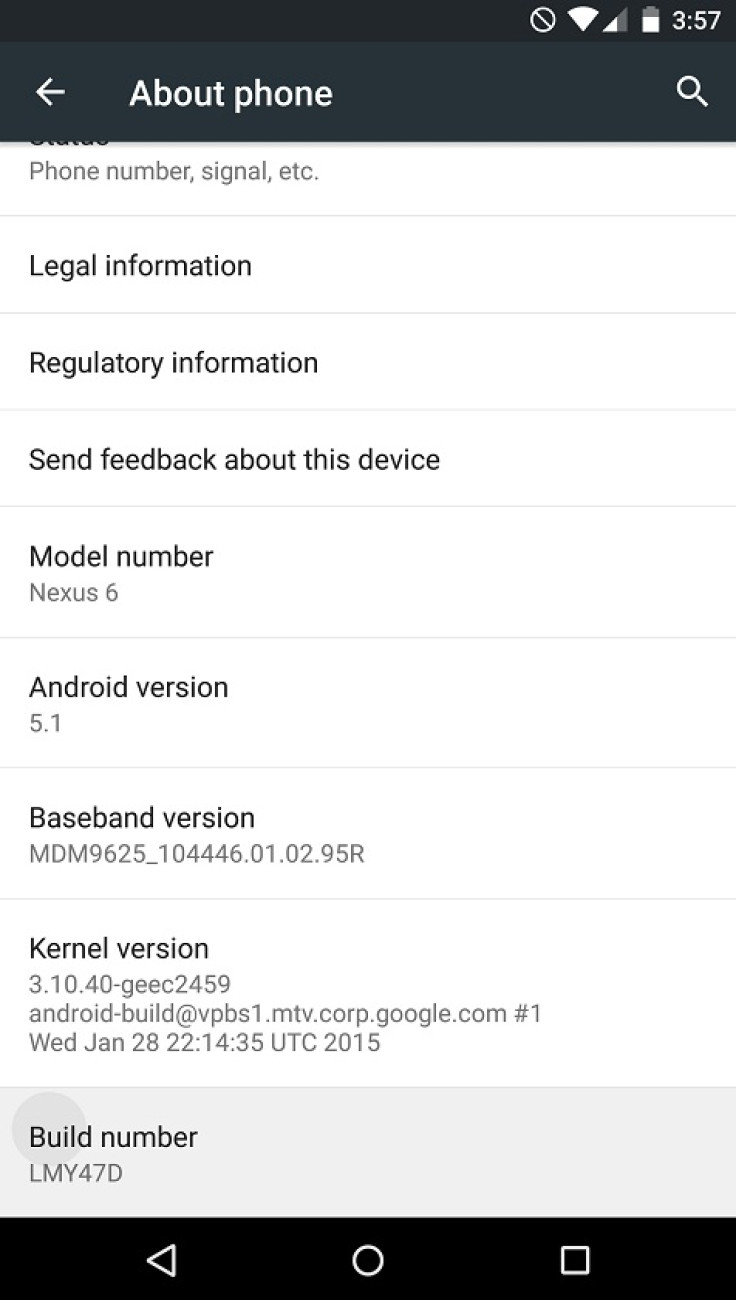
- Enable USB Debugging Mode on the phone to connect it with the computer and use Android SDK with it. [Go to Settings>> About phone. Scroll down to Build number, Tap seven times on the build number. The Developer options under Settings should appear now. You can now enable USB debugging mode.]
- The Nexus 6 should be having above 80% battery. Due to lack of battery the phone might shut down during the middle of the process which in turn could damage the device.
- The booatloader of Nexus 6 should be unlocked.
- To install this custom build, your Nexus 6 should be running the latest custom recovery such as CWM or, TWRP. The guide below uses CWM recovery, but you can install the ROM with TWRP recovery as well.
- The pre-rooted Android 5.1 Lollipop stock ROM works with Nexus 6 codenamed Shamu only. Applying this on any incorrect variant might brick the device. Verify the model number of the smartphone by navigating to Settings>> About phone>> Model number and install firmware based on the mode number of the device.
- After the ROM is installed, leave the device for at least 10 minutes, before using it, for a better user experience.
- IBTimes UK will not be held liable for any damage to the device.
How to install Android 5.1 Lollipop build LMY47D pre-rooted ROM on Nexus 6
Step-1: Download Android 5.1 LMY47D rooted ROM on your PC
Step-2: Connect the phone to the computer using the USB cable. Without extracting move the downloaded file to the internal storage of the phone. Keep the file in the SD card root folder, not inside any other folder
Step-3: Unplug the USB cable from the phone and switch it off
Step-4: Enter into recovery mode.
Press the Volume Down and Power buttons together, then release the Power button when the Google logo appears, but keep holding the Volume Down button. The phone will be in Bootloader Mode. Press Volume Down twice, the Recovery option will appear now. Press Power button to reboot into recovery mode
Step-5: In recovery, create a Nandroid backup by selecting Backup and Restore>> Backup again
Step-6: Perform factory reset. Select wipe data/factory reset and confirm the action on the next screen
Step-7: From recovery menu select install zip from sdcard>> choose zip and locate the ROM, then locate the rooted Android 5.1 ROM, which you have saved in the internal storage of the phone. Select it and confirm installation
Step-8: When the installation process is completed, reboot the phone. Go to the recovery menu, select reboot system now. This will boot the Nexus 6 into rooted Android 5.1 ROM. Wait until the phone boots up successfully. This step is likely to take some time, until then do not press any button
You can now enjoy root access on your Nexus 6 with stock Android 5.1 LMY47D build installed on it.
[Source: XDA]
© Copyright IBTimes 2024. All rights reserved.
-

Football Clubs With The Most Arrests And Bans in 2022-23
-

Oil Prices Slip As Investors Eye Israel's Response To Iran Strike
-

Billionaire Declared Missing And Dead In 2018 Is 'Possibly Living In Moscow With Mistress'
-

Wendy's Sued For $20M After 11-Year-Old Gets Brain and Kidney Damage From 'Dirty Meal'


