HTC One Gets Android 4.2.2 Jelly Bean Update via SlimBean Build 6 ROM [How to Install]
SlimBean Build 6 ROM brings a fast, stable and bloatware-free Jelly Bean experience for HTC One

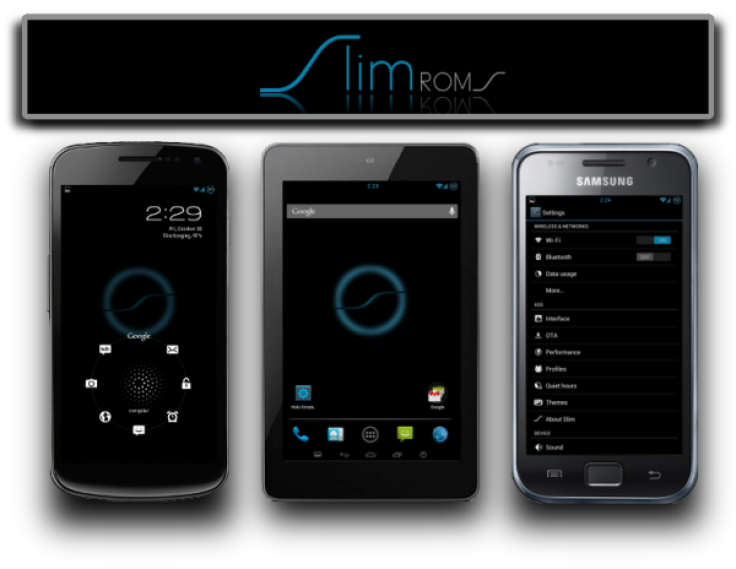
HTC One users can now enjoy a fast, stable and bloatware-free Jelly Bean experience on their phones, thanks to the release of SlimBean Build 6 ROM from the SlimROMs team. SlimBean ROMs are known for their lightweight profile with simple interface that delivers stock-like Android experience to the user.
The latest build of SlimBean ROM reportedly offers bug-fixes, feature enhancements and a host of new features over its previous build.
SlimBean Build 6 ROM Features and Bug-Fixes
Here is the complete list of bug-fixes and feature enhancements ported into this ROM:
- Add DC-HSPA+ to framework
- Fixed GlowPad layout on Larger devices
- Massive improvements to T9 dialer
- TRDS 2.0 [Updated Packages + Gapps]
- Added Power Dis/Connect Notification sound options
- Added TruView [Camera]
- Massive updates to DashClock [Beta2]
- Fixed Torch FC
- Added Multi-Part/Split SMS option [Mms]
- Added Transparent Incoming call [phone]
- Added Auto-Brightness sensitivity
- Changed keyboard hints to full holo blue light [LatinIME]
- Fixed BT MAP requests
- More optimisations and fixes for memleaks for Slim changes
- And some more optimisations to Dalvik!
- Fixed NFC bugs
- Fixed TRDS on car dock
Key Points to Note
- The SlimBean Build 6 ROM and the instructions given in this guide are meant for the HTC One model only. Verify the device model number by navigating to Settings > About Phone.
- Back up data and settings using a recommended custom recovery tool such as ClockworkMod (CWM) or TWRP, as it creates a complete image of the existing phone setup.
- Verify correct USB drivers for the phone are installed on the computer (download HTC One USB drivers)
- Ensure USB debugging mode is enabled on the phone, by navigating to Settings > Developer Options (if device is running Android 4.0 or later) or Settings >Applications> Development (if device is running Android 2.3 or earlier). Otherwise if device is running Android 4.2, perform the following steps:
- Go to Settings > About Phone
- Scroll to the bottom of the screen and select Build Number
- Tap the phone's Build Number seven times to unlock or reveal the hidden Developer Options under Settings. Then select the checkbox to enable USB debugging mode under Settings > Developer Options.
- Make sure the phone has at least 80% battery charge to prevent unexpected device shutdown (due to battery drain) while installing the ROM.
- Ensure the device is unlocked (not locked to a specific carrier) and rooted with ClockworkMod Recovery (CWM) installed.
- If the device is stuck at booting or is experiencing boot loop issues, perform Wipe Cache Partition and Wipe Dalvik Cache a few more times before rebooting.
- Allow newly installed ROM to stabilise for five minutes before you start working on it.
- If you encounter a Status 7 error message while flashing the firmware, then it could be due to an incompatible device or a necessary kernel may be missing (for instance, a Jelly Bean Kernel must be installed before installing any Jelly Bean ROM).
Downloads
How to Update HTC One to Android 4.2.2 Jelly Bean via SlimBean Build 6 ROM

Step 1: Connect and mount the HTC One storage on computer via USB cable.
Step 2: Without extracting, copy the downloaded ROM and Google Apps zip files to the root folder of your phone's SD card.
Step 3: After the file transfer procedure completes, disconnect the USB cable from computer and then Power off your phone.
Step 4: Now boot the phone into recovery mode. To do so, press and hold Volume Down and Power button together to boot into HBOOT menu. Then select Recovery option [use volume buttons to scroll and Power button to select]
Step 5: Take a Nandroid backup of your existing ROM so that it can be restored later if the new ROM fails to work or you want to return to the original ROM. To perform a backup, choose Backup and Restore and then click Backup again on next screen. Return to main recovery menu once backup is done.
Step 6: Perform a full data wipe task to eliminate conflicts between new ROM and previous ROM. To do so, click wipe data/factory reset, then choose Yes on next screen to confirm. Wait for a few minutes until the data wipe process is done. Then return to CWM recovery main menu and choose wipe cache partition. Once wipe cache partition process completes, choose Wipe Dalvik Cache under advance option. Wait until the wiping process completes, then proceed to the next step.
Step 7: Choose Install zip from SD card and then click Choose zip from SD card. Now, navigate to the Slim Bean 4.2.2 Build 6 ROM zip file that you copied earlier in Step 2 and select it by tapping Power button. Confirm the ROM installation on next screen by choosing Yes and soon the installation process will begin.
Step 8: Once the ROM installation is done, repeat the step 7 but choose Slim Bean Gapps zip instead of ROM zip to install Google apps.
Step 9: Once Google Apps is also installed, return to the main recovery menu and hit reboot system now. The phone will now reboot into the newly installed ROM. However, the first boot usually takes about five minutes to complete. So, leave it alone.
Restoring the Previous ROM: To restore or return to the previous ROM: boot into recovery, select Backup and Restore then restore your previous ROM by choosing it from the list.
Android 4.2.2 Jelly Bean based Slim Bean Build 6 ROM is now installed and running on your HTC One. Go to Settings > About phone to verify the firmware installed.
[Source: Droid Firmwares]
© Copyright IBTimes 2024. All rights reserved.


