Nexus 7 Gets Jelly Bean Update with Liquid Smooth RC3 ROM [How to Install]
Enhanced Jelly Bean features available

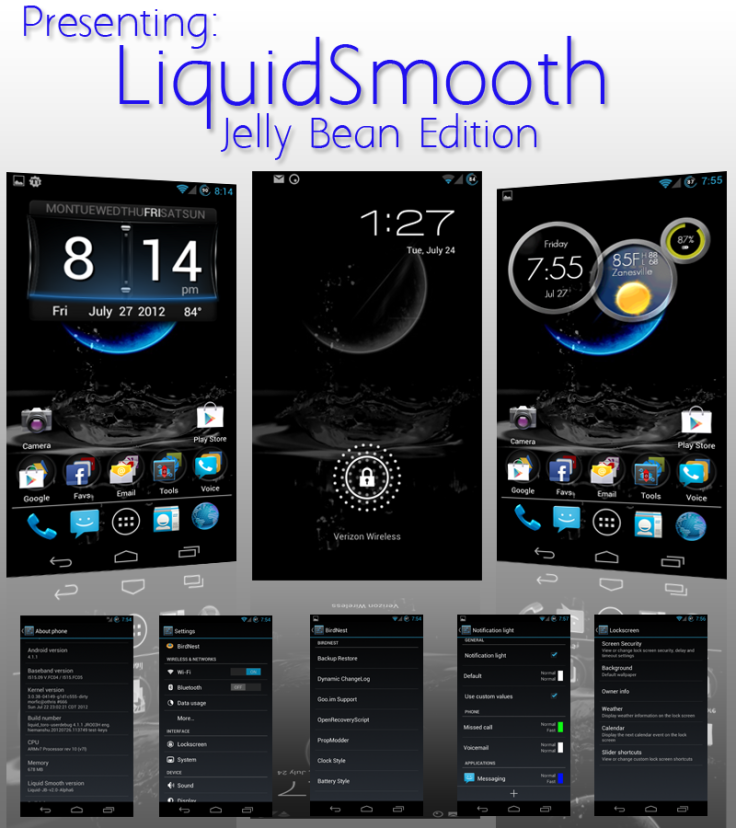
Google's flagship tablet Nexus 7 gets yet another custom ROM Jelly Bean update with Liquid Smooth v2.0 RC3 ROM, thanks to the industrious efforts of XDA senior member nocoast. The installation of this ROM requires the device to be rooted and its bootloader unlocked, as it is not an official release. True to its name the custom ROM brings enhanced features powered by butter smooth interface, which is unavailable with the stock ROM for Nexus 7.
What New Features You Will Get
Liquid Smooth RC3 custom ROM brings the following new features to Nexus 7:
- Framework optimisations to enhance performance
- Ultra Slim Size: Deodexed, Debloated, Zip-Aligned and Opti-png
- Startup script control (sysctl, cron, zipalign etc)
- Forced Tablet Mode with DPI Changer
- Status Bar Mods - Battery, Clock, Provider Name Changer and more
- Toggles (Both AOKP/CM style)
Key Points to Note
- The Liquid Smooth ROM and the instructions provided in this guide are compatible only with the Google Nexus 7 device and will not work with any other device. Verify your device's model number by navigating to Settings > About tablet.
- IBTimes UK advises users to perform a backup of apps, important data and settings to avoid data loss while installing the Android 4.1.1 Jelly Bean update on your Nexus 7.
- The instructions provided in this guide are meant for reference purpose only and do not cover any warranty claims involving device damage or issues arising out of using the Liquid Smooth RC3 firmware update. Users are advised to proceed at their own risk.
Prerequisites
- Enable USB debugging mode by navigating to Settings > Applications > Development > USB Debugging. This helps in connecting your Android device with the computer.
- Verify that your tablet's battery is fully charged or holds at least 85 percent charge to avoid unexpected device shutdown while flashing the custom ROM or installing the Android 4.1.1 Jelly Bean update.
- Make sure that all antivirus tools are turned off, as they might interfere with the firmware installation process.
- Ensure that your Nexus 7 tablet is rooted and its bootloader unlocked. Also, ensure that ClockworkMod recovery is installed on the device before proceeding with the ROM installation procedure.
How to Update Nexus 7 to Jelly Bean with Liquid Smooth RC3 ROM
- Download the Liquid Smooth RC3 Based Jelly Bean custom ROM and Google Apps package for your Nexus 7 to your computer.
- After the files are downloaded, connect your Nexus 7 to the computer using an original USB cable and copy these two zip files to a desired location on your Google Nexus 7 tablet.
- Then disconnect the device from the computer and download the ROM Manager app from the Google Play Store. Launch the ROM Manager app in your Nexus tablet and choose the option Flash Clock Work mod Recovery. Once the ROM is successfully flashed, click the option Reboot into Recovery Mode.
- In recovery mode, tap install zip from sd card and select choose zip from sd card. Finally, browse and double-click on the firmware package which you copied earlier to the device. It should take about 4 to 5 minutes for installing the ROM update.
- Once the ROM is installed, the device will reboot automatically and you will be prompted to enter the Google Account and your name.
NOTE: In case your Google Nexus 7 Tablet gets stuck in boot loop sequence then just turn off the device, and then reapply the update from the start. To turn off the device, you can either reinsert the battery or long press the power button.
Liquid Smooth RC3 ROM based Jelly Bean update is now successfully installed on your Google Nexus 7 tablet. You can now verify the firmware version installed on your device by navigating to Settings > About Phone.
[Source: Android Advices]
© Copyright IBTimes 2024. All rights reserved.
-

Uber Eats Starts Robot Deliveries In Tokyo
-

Former "The Mandalorian" Actress Gina Carano Heaps Praise On Elon Musk, Compares Him To Batman
-

Quebec Approves X Gender Marker For Trans And Non-Binary People On Provincial Cards
-

Elon Musk Calls £4.42B Lawyer Fees 'Criminal' In Tesla Pay Dispute
-

France Enshrines Abortion As Constitutional Right In World First
-

Netizens Air Looting Concerns After Nike Announces First US 'World Of Flight' In Philadelphia
-
Copilot Offers Controversial Responses On Teaching Sex, DEI, LGBTQ Topics In Preschool