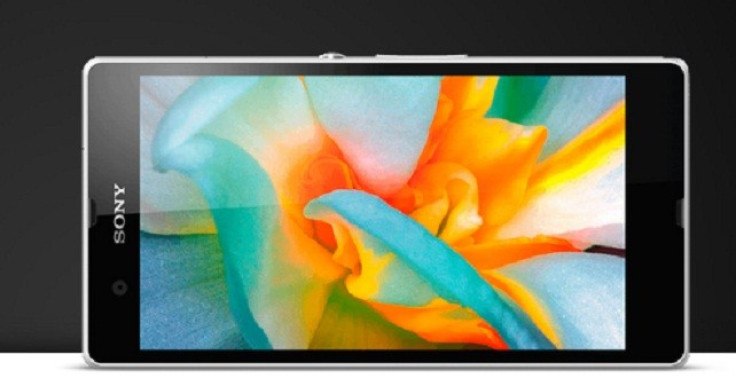
Sony Xperia Z Gets Android 4.2.2 Jelly Bean Via CyanogenMod 10.1 [How to Install]
Sony Xperia Z expected to receive official Android 4.2.2 Jelly Bean at end of this month
Sony had promised that its new flagship smartphone, the Sony Xperia Z, will receive the latest Android 4.2 Jelly Bean software soon after the release of the device. But the company did not disclose any timeline for the rollout. However, the Xperia Blog claims that the device is expected to receive the Android 4.2.2 by the end of this month starting from Europe.

Here is good news for Xperia Z owners who cannot wait for the official Jelly Bean upgrade: recognised XDA developer, FXP, has released the CyanogenMod 10.1 (CM10.1) Jelly Bean custom build featuring the Android 4.2.2 based on AOSP for the Xperia Z. The CM10.1 ROM brings Android 4.2.2 update for Sony's new handset which is currently running on Android 4.1.2 . In addition to that, the CM10.1 ROM provides stock Android experience and includes several customised features and apps.
Apart from the lock screen and the camera, all other features are working properly in this custom build. Head over to the development page to learn more about the ROM.
Xperia Z users who wish to install CM10.1 Android 4.2.2 Jelly Bean may follow our step-by-step installation guide below. IBTimes UK reminds its readers that it will not be held liable for any mishap. Users are reminded that the aforementioned Jelly Bean ROM works only on the Sony Xperia Z and installing the ROM in incorrect variants is likely to brick the device.
Pre-requisites
1) Install USB Driver and Android ADB for Sony Xperia Z on the computer.
2) Enable USB Debugging Mode.
3) Verify that the bootloader of the phone should be unlocked.
4) The Xperia Z should have ClockworkMod (CWM) recovery installed.
5) Create a backup for all data of phone.
6) The battery of the device should have above 80 per cent of charge.
Steps to install CM10.1 Android 4.2.2 Jelly Bean ROM on Sony Xperia Z
1) Download CM10.1 Android 4.2.2 Jelly Bean ROM for Xperia Z to the computer [Alternative link]
2) Download Google Apps package
3) Copy both the downloaded zip files to the internal storage of the phone
4) Download the fastboot package (File name-Fastboot.zip) to the computer. Unzip the fastboot.zip file into C: to get the fastboot folder. Then unzip the ROM zip file to get the boot.img file, copy this file to the fastboot folder
5) Plug the USB cable to the phone, then hold the Volume Up button while plugging the phone into the computer. This will plug the phone to computer in fastboot Mode
6) Navigate to Menu>> All Programmes>> Accessories on the computer to run command prompt
7) Enter the below-mentioned command on the command prompt, which will take to the fastboot folder
cd c:Fastboot
8) Enter the following command prompt to install boot.img
fastboot flash boot boot.img
[Note: In case a message saying 'Waiting for device' appears, then enter another command to install kernel.
fastboot -i 0x0fce flash boot boot.img
Once the boot.img is installed on the phone, a message saying Finished/OKAY will arrive.]
9) Disconnect the phone from the computer
10) Switch off the phone. The screen will turn on and a kernel logo will appear; when LED lights shows up, start pressing the Volume Up button until the device enters recovery
11) In recovery mode perform data wiping task by selecting wipe data/factory reset. Then confirm the action on the next screen. Return to the recovery menu once the action is completed
12) Select 'Install zip from SD card' then select 'Choose zip from SD card' and browse to the ROM zip file copied to the SD card. Select it and confirm installation
13) Once the ROM is installed, follow the same procedure to install the Google Apps zip file
14) After the installation process is completed, return to the main recovery menu and reboot the phone by selecting 'Reboot System now'
The Sony Xperia Z should be now running on CM10.1 based on Android 4.2.2 Jelly Bean custom firmware. Head over to Settings>> About phone to verify the software version of the device.
[Source: Android Egis]
© Copyright IBTimes 2024. All rights reserved.


