

Windows 10: How to record games, capture screenshots and create game clips using Game DVR
Windows 10, released to the public on 29 July, is attracting a lot of interest, evident by the fact that the OS was downloaded on 14 million computers worldwide in the first 24 hours of its launch.
With people continuing to download and install Windows 10 OS updates, it is only natural to discover and test new/hidden features within the operating system. One important hidden feature is the Game DVR that can be used to record games to share on multiple social platforms.
Windows 10 Game DVR can be used to capture screenshots and record game screens at any point in time during the game's progress. It also lets users record game clips even in the background when a particular game runs actively.

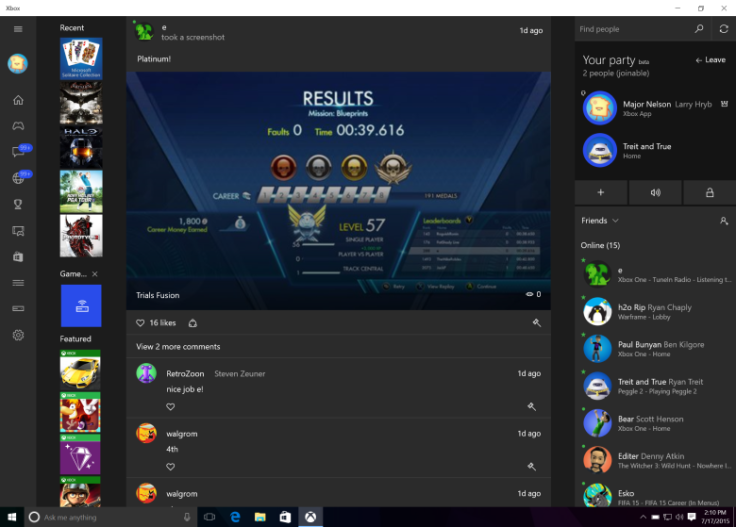
Screenshots/game screens and games captured can be transmitted to and viewed/edited within the Microsoft Xbox application, and can be shared with other gamers as well.
Windows 10 Game DVR can also be used while streaming games from Xbox One to a Windows 10 computer.
How to capture in-game screenshots, game screens and game clips using Game DVR:
Windows 10 Game DVR pre-requisites:
- Graphics card required: AMD 7900 series and higher, Intel HD Graphics 4000 and higher or an Nvidia GTX 600 series and higher graphics hardware.
- Users should run games in windowed modes, rather than use full-screen modes.
Using Windows 10 Game DVR to capture game clips:
Step 1: Log into the Xbox app within Windows 10. Sign-in using your Microsoft Account credentials. Create a new Xbox username, if not already created.
Step 2: Navigate to Settings. Here, you will have options to record games. Set the desired time in "record the last" sub-section. You can adjust the clip quality, maximum record times and the local storage location once the clips have been created.
Step 3: Create customised game clips. Connect an Xbox One controller to the computer, and then click the Xbox button. Another method to create clips is to use keyboard shortcuts. Press Windows Key + G.
Step 4: After creating clips, select customised controls using your Xbox pad.
Description of customised Xbox controls: From left to right: the first icon opens the Xbox app, the second captures the buffer if you have background recording enabled, the third creates a screenshot of the current window and the fourth opens some of Game DVR's settings.
Step 5: Users should be able to run Game DVR in most of the windows. If Game DVR doesn't recognise the current app, select "yes, this is a game" if you want to continue.
Step 6: Clips captured via the above steps will be stored in C:users%username%VideosCaptures. You can also view the clips on the Xbox app by clicking the Game DVR icon on the left. Users can also access the clips instantly by clicking on the capture notification from the Windows 10 action centre.
[Source: Windows Central]
© Copyright IBTimes 2024. All rights reserved.


