

Android L Developer Preview Ported to Nexus 4 and Nexus 7 2012 Wi-Fi
Android L SDK port available for Nexus 7

Earlier this month, Google released the Android L Developer Preview source code to the AOSP, which is available for Nexus devices such as Nexus 4, Nexus 5, Nexus 7 2012 Wi-Fi/LTE variants, Nexus 7 2013 Wi-Fi/LTE and the Nexus 10.
This indicates that Google's older Nexus devices will also get the Android L touch.
While the Android L Developer Preview is only available for the Nexus 5 codenamed Hammerhead and the Nexus 7 2013 Wi-Fi variant codenamed Flo, developers at XDA have managed to bring Google's latest Android software for the fourth generation Nexus smartphone codenamed Mako and the Wi-Fi model of the Nexus 7 2012 known as Grouper.
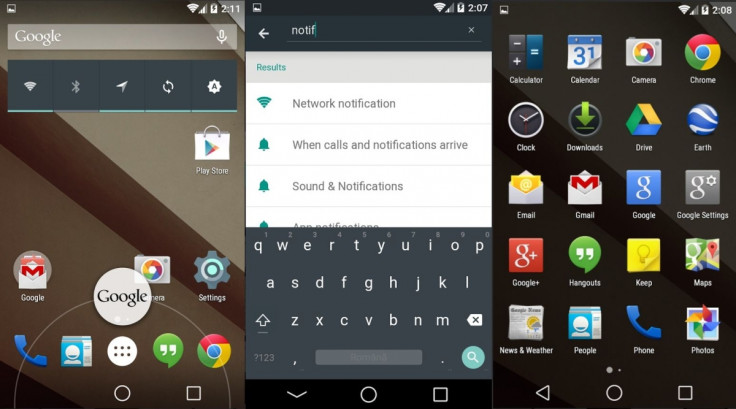
Senior XDA member, sykopompos, has successfully ported the Android L Developer Preview to the Nexus 4.
The developer has also shared a flashable zip file allowing Nexus 4 users to taste the Android L Developer Preview ahead of the official release. Navigate to the source thread to know more about the port.
IBTimes UK will not be held liable for any damage to the device, so proceed at your own risk.
Download link: Android L Developer Preview for Nexus 4
How to install Android L Developer Preview on Nexus 4
Step-1: Place the downloaded file into the internal storage of the phone
Step-2: Reboot the phone into recovery-CWM or TWERP. To do so first switch off the phone then press and hold Volume Up, Volume Down and Power buttons together. Release all the buttons when Bootloader/Fastboot menu appears. You should also see the Start button on the screen. Now press the Volume Up/Down button until the Start text changes into Recovery Mode. Then press the Power button to boot into Recovery Mode
Step-3: In recovery mode, perform wipe date/factory reset then select Yes on the next screen to confirm the action. Once the action is completed return to the main recovery menu
Step-4: Select mount and storage >>format system and click Yes on the next screen to confirm
Step-5: From the main recovery menu go to advanced and select wipe dalvik cache and click Yes to confirm the process. Then go back to the main recovery menu
Step-6: Select install zip >> select install zip from sdcard then select the downloaded zip file and confirm installation. Wait for some time until the process is completed
Step-7: Select wipe cache
Step-8: Select advanced>> wipe dalvik cache
Step-9: Go to the recovery menu and select Reboot system now to reboot the phone. The first boot might take up to 10 minutes
Note: If the Home button does not work then perform a full wipe to fix the issue.
Nexus 7 2012
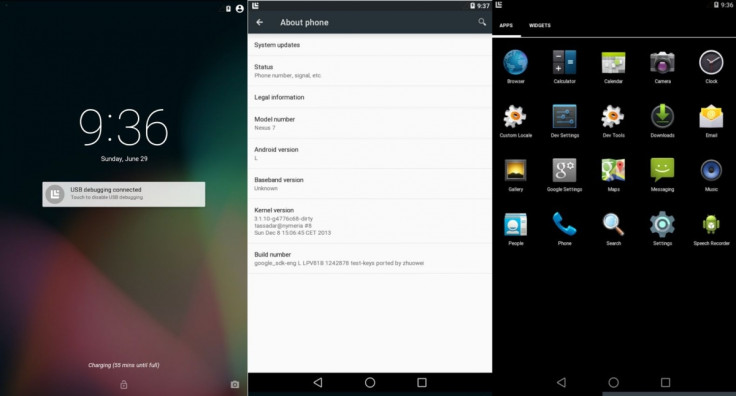
Another member from the forum has released the SDK port of the Android L Preview version for the Wi-Fi version of Nexus 7 2012. Below are the features which are working and not working in this SDK port. Head over to the development thread to know more about the SDK port for Nexus 7.
What is working
Boot animation
Touchscreen
Sound (partially)
Screen rotation
Settings app
Camer
Installing apps
Wi-Fi
What is not working
Installing some apps, such as Chrome, from Play shows Incompatible device error
Playing some sounds, such as the Ding noise played by Google Search after recognising OK Google
Bluetooth
NFC
Google Text to Speech
Nexus 7 users who wish to install the SDK port of the Android L Developer Preview may follow the guide below. Make a backup of all data of the device before following the installation method below as the SDK port is highly experimental, notes the developer.
How to install Android L Developer Preview on Nexus 7 2012 Wi-Fi
Step-1: Download MultiROM
Step-2: Move the downloaded zip file to the internal storage of the tablet
Step-3: Booth into MultiROM recovery
Step-4: Select Advanced
Step-5: Select MultiROM
Step-6: Select Add ROM
Step-7: For "Choose ROM type" select Android
Step-8: For "Share kernel with Internal ROM?" select Don't share
Step-9: Select Next
Step-10: Select Zip file
Step-11: Choose the downloaded zip file which was earlier copied to the tablet
Step-12: Slide to flash
Step-13: When the installation process is completed, reboot the tabletand then choose the new ROM in MultiROM's startup menu
Nexus 7 2012 users will now be able to experience the features of the Android L Developer Preview.
[Source: XDA]
© Copyright IBTimes 2024. All rights reserved.
-

Doug McMillon Unloaded Walmart Trucks For $6.50/Hour In 1984, Now He's The CEO
-

Utah Couple Doesn't Know Cat Jumped Into Amazon Package, Accidentally Ships It to California
-

How Are Female Tech Firms Fighting the Employment Crisis in the West Bank?
-

Italian PM Has British Newborn With Heart Defects Airlifted to Rome for Treatment Unavailable in UK


