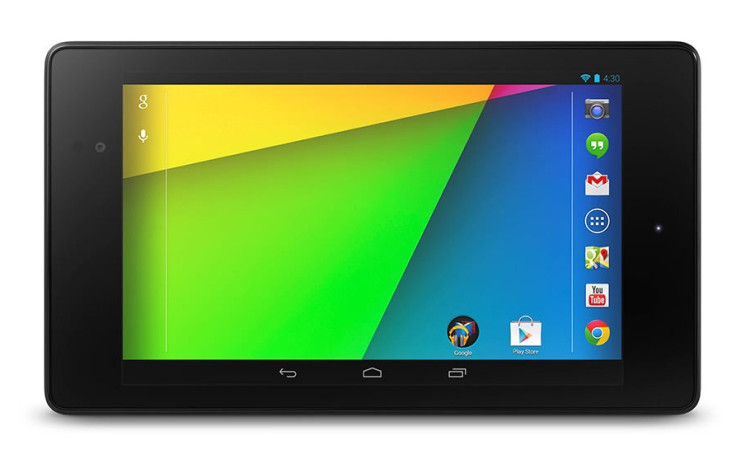
Update Nexus 7 2013 to Android 4.4.2 KitKat with ElementalX OmniROM

The unofficial version of ElementalX OmniROM custom firmware featuring Android 4.4.2 KitKat is available for the Nexus 7 2013 model. The ElementalX ROM is based on the sources of OmniROM. This custom build has been complied by senior XDA member, dre1187.
ElementalX OmniROM carries a number of customised features and tweaks. One of them is the lock screen notifications.
ElementalX OmniROM features
- Multi-Window PS22
- Bulletproof 2.1+ Kernel
- Art and Dalvik Tweaks
- Compiled with latest Linaro Toolchain
- rooted with latest SuperSU
- Krait optimizations for Flo/Deb
- Lockscreen blur from AOSPA
- Lockscreen camera widget
- Task utils and Navigation Bar features
- Added switch to last app as navigation ring target
- Added optional kill on long press on back
- Launch SuperSU from settings
- Lockscreen Notifications
Head over to the development thread to know more about ElementalX OmniROM.
Interested users who wish to update their Nexus 7 2013 to Android 4.4.2 using ElementalX OmniROM, may follow our step-by-step guide.
IBTimes UK reminds its readers that it will not be held responsible for any damage to the device. Before following the installation guide, users are advised to verify their devices meet following requirements.
Pre-requisites
1) Install USB Drivers for Nexus 7 to transfer files between the Android device and the computer.
2) Enable USB Debugging Mode on the tablet to connect it with the computer and use Android SDK with it. [Navigate to Settings>> About phone. Tap on Build Number several times until a message appears saying 'You are now a Developer.' Now enable USB Debugging Mode by navigating to Settings>> Developer Options.]
3) As the tutorial might wipe out all data of the tablet, create backup. If the device is having any custom recovery such as ClockworkMod or, TWRP then backup data using the same.
4) If the android phone powers off due to lack of battery during the process, it could damage the device. Therefore, the Nexus 7 should have charge above 80% battery charge.
5) The tablet should be rooted and have latest version of ClockworkMod recovery.
6) Android 4.4.2 KitKat ElementalX OmniROM works only with Google Nexus 7 2013 model. As applying this to any incorrect variant might brick the device, verify the model number of Nexus 7 by navigating to Settings>> About tablet>> Model number.
7) After flashing the ROM if the device gets stuck on Booting animation or experience boot loop then perform wipe cache partition and wipe dalvik cache for a few times before rebooting the device.
8) Once the ROM is installed, users are advised to give 10 minutes to the ROM after the device boots up for the first time for better user experience.
Download files
ElementalX OmniROM
File name: omni-4.4.2-20140429-flo-HOMEMADE.zip [Alternative link]
Gapps file
How to install Android 4.4.2 KitKat ElementalX OmniROM on Nexus 7 2013
Step-1: Connect and mount the Nexus 7 USB memory on the computer using USB cable. Then copy the downloaded zip files to the internal storage of the tablet
Note: Ensure that the files are in the SD card root not in any folder.
Step-2: Unplug the USB cable for the tablet and switch it off
Step-3: Boot the Nexus 7 into Bootloader Mode. To do so, turn on the tablet while pressing and holding Volume Up, Volume Down and Power buttons together
Step-4: Follow the navigation instruction on the screen. Select Bootloader and then go to Recovery
Step-5: In CWM recovery, perform a full data wipe by selecting wipe data/factory reset
Note: In recovery mode use Power button to select desired options.
Step-6: Perform a cache wipe by selecting wipe cache partition
Step-7: It is recommended to perform a wipe of your dalvik cache. This is optional but it is important to do this so that the device will not get into any bootloop or, any other errors. For this, from CWM recovery, navigate to advanced then select wipe dalvik cache
Step-8: Return to main recovery menu and select install zip from sdcard
Step-9: Select choose zip from sdcard. Using the Volume keys navigate to Android 4.4.2 ROM zip, which was earlier copied to the SD card and select it using the Power button. Confirm installation on the next screen
Step-10: When the ROM is installed, repeat the same procedure to flash the Google Apps package
Step-11: When the installation process is completed, go to +++++Go Back+++++ and reboot the tablet by selecting reboot system now from the main recovery menu
Once the Nexus 7 boots up successfully, it should be updated with ElementalX OmniROM featuring Android 4.4.2. Havigatw to Settings>> About tablet to verify the new firmware running on Nexus 7.
[Source: Team Android]
© Copyright IBTimes 2025. All rights reserved.


