

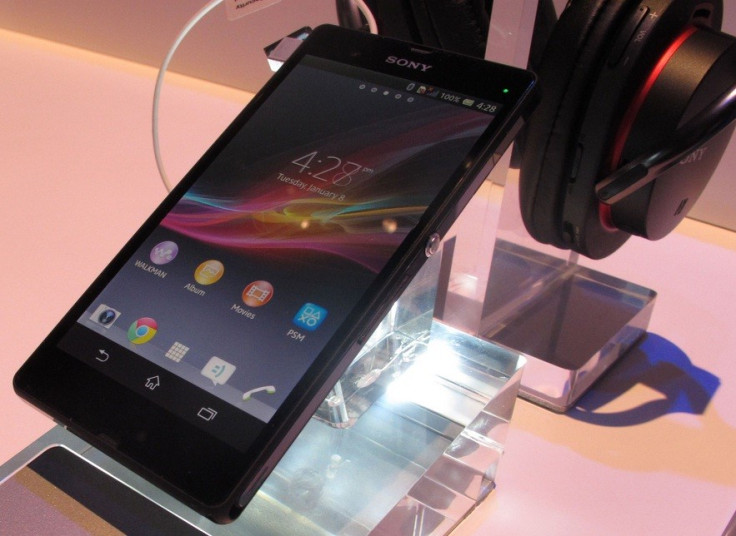
Root Sony Xperia Z on Locked/Unlocked Bootloaders With Easy Rooting Toolkit [GUIDE]
Before the new Sony Xperia Z entered the global smartphone market, XDA developer, DooMLoRD, released a root method allowing users to root the handset. The method was compatible only with Xperia Z C6603 and C6602 running on official Android 4.1.2 with build number 10.1.A.1.350.
The developer has now shared an easy rooting toolkit for the Sony Xperia Z making the rooting procedure even easier than before. The previous root method required a set of ADB commands via Windows command box which was slightly complex. The current rooting toolkit is reportedly tested and working fine on Xperia Z with the stock Jelly Bean firmwares, 10.1.D.0.317, 10.1.D.0. 322 and 10.1.A.1.350. This new procedure also works on both locked and unlocked bootloaders. Head over to the development page to learn more about the rooting toolkit.
Xperia Z users, who wish to root their handsets using the easy rooting toolkit, may follow our step-by-step guide below. IBTimes UK reminds its readers that it will not be held liable for any damage to the device. Before following the root tutorial, users are advised to ensure that their phones meet the below mentioned requirements.
Pre-requisites
1) Download and install Sony Flash Tool Drivers on the computer. If users are unable to install the drivers on Windows 8, then they will have to make some changes to install the drivers.
Press Windows + R keys on the computer's keyboard. A command box will appear. Now copy and paste the following command in the box and click OK:
shutdown -o -r -t 0
This will restart the computer in Advanced Startup menu. Select "Disable Driver Signing" option. Then choose the "Have disk" option and install the Flashtool driver manually. Now, reboot the computer.
2) Enable USB Debugging Mode on the phone. [Press Menu>> Settings>> Applications. From there navigate and click on Development option and ensure the USB Debugging Mode is turned on.]
3) Create backup for all data of the device.
4) Verify that the battery of the phone should have above 80 per cent of charge.
5) Browse to Setting>> Display>> Sleep on the phone and increase the screen timeout to 10 minutes.
6) Check/Turn on 'Unknown sources' option from Settings>> Security.
Steps to root Sony Xperia Z using Easy Rooting Toolkit
1) Download the rooting toolkit package [File name- EasyRootingToolkit_Xperia-Z_SO-02E_v101-English_tkymgr.zip] for Sony Xperia Z on the computer. Then extract the files into a folder and place it on the C: driver of the computer
2) Close/exit all the apps on the computer such as PC Companion, PC Suite and Flashtool which use ADB drivers. These apps are likely to interfere with the rooting process
3) Connect the Xperia Z to the computer using USB cable
4) Open the Xperia Z rooting toolkit folder. Run and execute the 'runme.bat' file [Ensure all extracted files are present in the same folder]
5) A command popup window will arrive asking to press any key. Press the Enter key. The toolkit will start executing all four 'To do' steps one following the other
6) Once the action is completed, users will be asked to 'Press the button to restore the data in your phone'
7) As a button is pressed, an option saying 'Restore Data' will appear on the phone's screen. Select it
8) A message saying 'If Restoring data is complete,' will appear in the command prompt. Open the phone app and dial *--7378423--* on the keypad
9) In the Service Menu of the phone, select 'Service tests' from the available options
10) Select 'Display' [the screen will turn white] and the toolkit will now start executing some commands
11) Press the Power button to turn off the screen. Wait for a few seconds and press the Power button again until a beep sound comes. Keep observing the command prompt for outputs
12) Users will now get to see 'Transfer files to your phone part2,' 'installing busybox, su, Superuser, etc....' and finally 'Cleaning up' on the screen
13) The phone will then reboot automatically
After the Sony Xperia Z boots up successfully, it should be rooted. To verify that the phone is rooted, check for the presence of SuperSU app in the app list. Open the app and update the binary if required.
Troubleshooting issues
If the phone has an unlocked bootloader, after applying the rooting method the bootloader status will turn "Bootloader unlock allowed: No" However, there is nothing to worry. A few users have reported that a repair via SEUS will flash back the stock firmware and turn this status to, "Bootloader unlock allowed: Yes."
To fix the "Bootloader unlock allowed: No", go to replace/data/data/com.sonyerricsson.android.servicemenu/lib/libservicemenu.so with stock libservicemenu.so; this will recover the status to "Bootloader unlock allowed: Yes."
Click here for step-by-step guide to install ClockworkMod recovery on Sony Xperia Z with locked and unlocked bootloader.
[Source: Droid Views]
© Copyright IBTimes 2025. All rights reserved.
- MOST READ


