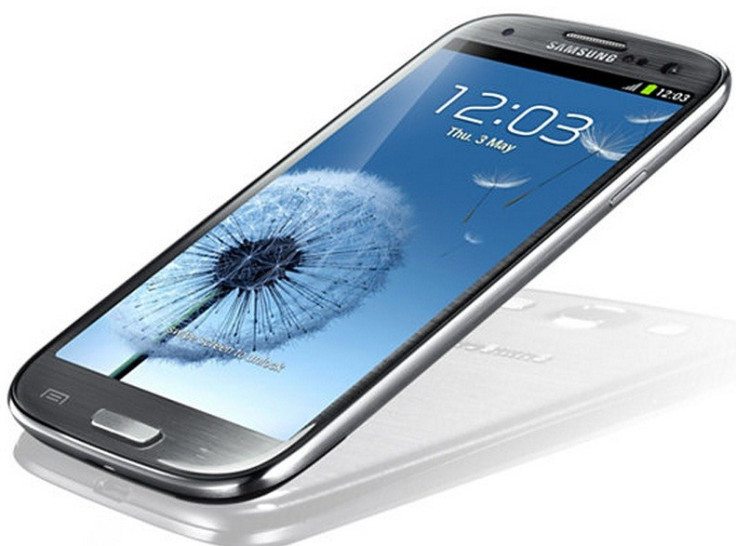
Root Galaxy S3 LTE I9305 Running on Android 4.1.2 XXBMA6 Jelly Bean [Guide]
Android 4.1.2 XXBMA6 Jelly Bean firmware released for LTE Samsung Galaxy S3 I9305

Samsung recently released the Android 4.1.2 XXBMA6 Jelly Bean firmware for the LTE version of Galaxy S3 (model number I9305). The update reportedly brings security tweaks and fixes minor bug issues found in the earlier build. The XXBMA6 Jelly Bean firmware can be installed via OTA as well as through Samsung kies.
Galaxy S3 LTE users who have already updated their phones to the latest Android 4.1.2 XXBMA6 Jelly Bean, may follow the tutorial below to root their devices. IBTimes UK reminds its readers that it will not be held liable for any damage to the device. The root package used in the guide works only on the Samsung Galaxy S3 LTE I9305 and flashing this on any other model is likely to brick the device.
Pre-requisite
1) Install USB Driver for Samsung Galaxy S3 on the computer.
2) Enable USB Debugging Mode. [Press Menu>> Settings>> Applications. From there navigate and tap on Development option and ensure the USB Debugging is turned on.]
3) The phone should have at least 40 per cent of charge.
4) Rooting the phone will void manufacturer's warranty.
5) The method below only roots the device; in order to install custom ROM users need to flash custom recovery separately.
6) Create a backup of all the important data of the phone.
Steps to root Galaxy S3 LTE I9305 on Android 4.1.2 XXBMA6 Jelly Bean
1) Download CF-Auto-Root for Samsung Galaxy S3 LTE to the computer. Extract the downloaded zip file to get a file with .tar extension under the extracted folder
2) Download Odin 3.07. Extract the zip to get Odin3 v3.07.exe along with a few other files
3) Switch off the phone. Now enter Download Mode by pressing and holding Volume Down, Home and Power buttons together. A warning message will appear, then press Power button again to enter Download Mode
4) Open Odin on the computer
5) Connect the Galaxy S3 to the computer using USB cable while it is in the Download mode. A message saying Added will arrive under Odin's message box. The COM port with a number in Yellow will also appear if the device is successfully connected
Note: If the Added message does not appear then try another USB port. If that does not work too then reinstall USB driver.
6) In Odin click the PDA button and select CF-Auto-Root-m3-m3zh-gti9305.tar.md5 file
7) Ensure Auto Reboot and F.Reset Time checkboxes are selected in Odin
8) Click the Start button in Odin to begin installation
9) Once the installation process is complete, the device will restart automatically and soon a PASS message with green background will appear in the extreme left at the top of Odin. Now, safely unplug the USB cable from the phone to disconnect it from the computer
Samsung GalaxyS3 LTE I9305 running on Android 4.1.2 XXBMA6 Jelly Bean is now successfully rooted. To ensure the root method is installed and working properly, verify with the Root Checker app from Google Play Store.
[Source: Android Jinn]
© Copyright IBTimes 2025. All rights reserved.


