

Geminids 2014: How to take photos of the spectacular meteor shower this weekend

It's time once more for the annual Geminids meteor shower, which will be peaking on 13 and 14 December.
With up to 100 shooting stars per hour expected that will be visible from almost anywhere on Earth, it's definitely a good opportunity to get your camera out and try to capture some.
Of course, capturing photographs of a meteor shower is not the easiest task, given that it's in a low-light situation. Also, unlike fireworks, you aren't exactly sure when the moment will happen and shooting stars usually only blaze for a fraction of a second.
However, it's definitely possible, so check out IBTimes UK's guide on how to capture the best possible shots of meteors during the Geminids shower this weekend.
1. Pick the right location
The first thing to bear in mind when seeking to capture a meteor shower is that there's no point staying in an urban environment as the light pollution will make it difficult to see, let alone photograph the stars.
It's best to head out of the city to your nearest national park where there is good public access and good sightlines of the sky, known as "dark places". Here is a list of some of the best locations to stargaze in the UK.
2. Equipment you'll need
In order to be able to capture shooting stars, you're going to need:
- A digital SLR camera
- A very steady tripod
- Several fully-charged batteries
- Multiple memory cards (or at least one 8GB card)
- A wide-angle lens – we suggest an 18mm f/2 lens with a high ISO value of at least 800
- Cable release remote (to prevent the camera from moving when you press the shutter button)
3. How to set up your DSLR camera
Obviously it depends on the camera you're using, but you should try to use the fastest and widest angle lens you have at your disposal.
You should also put your camera on manual, shoot in raw and adjust the settings so that your camera is able to gather as much light as possible by using very low aperture settings of less than F5 (we recommend f/2.8) and a medium ISO of maximum 800 to prevent noise in the photograph.
You'll need to play with the aperture at the location, and if your photos come out too dark, then you need to open up the aperture more.
Also, a handy tip is to make sure you look through the viewfinder on the camera rather than at the LCD screen, which can be misleading as to how the photos will actually turn out.
4. How to achieve clear shooting stars

If you're hoping to capture a photograph of a shooting star in mid-flight as a clear point of light in the night sky, then it would be best to use a shutter speed of less than 30 seconds, as meteors can cross the sky in a fraction of a second.
There is a formula known as the "600 rule", but nowadays photographers are using the "450" or "500" rule instead. Basically the formula is designed to calculate image quality when the images are enlarged.
Royce Bair from Into The Night Photography advises taking a base number of 450 and dividing it by the width of your camera lens, so if you use a 24mm wide angle lens, then 450 / 24 = 19 seconds exposure.
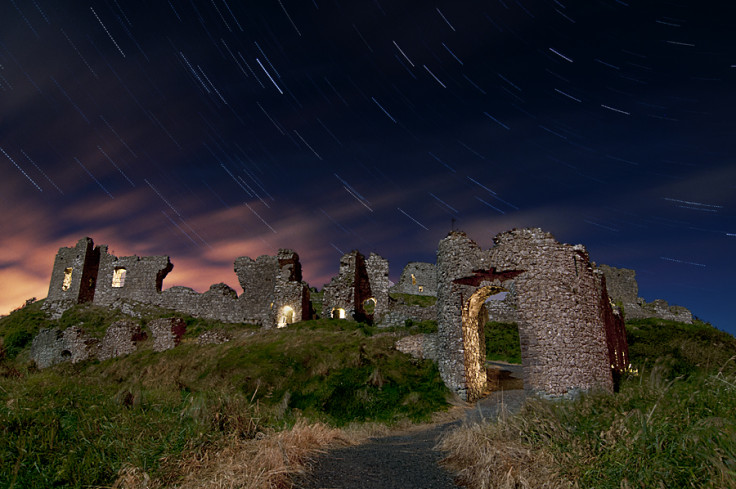
5. How to achieve star trails

However, if you're trying to capture a star trail, then you will need to set up your camera with longer exposures. Change your shutter speed setting to "B" (the bulb setting).
As for how long the exposure should be, photographers have different opinions about this, and the advice varies from several minutes up to half an hour or even an hour in order to show the motion of stars over time.
Of course, the longer the exposure, the more risk there is of getting noise in the photograph.
You could use noise reduction after each photograph is taken, but if your exposure is 30 minutes, then the noise reduction processing will take another 30 minutes before you can take the next photograph.
Also, the longer the exposure, the more battery power and memory card space will be used up, so make sure you have lots of spares with you.
Here is a cool cheat for figuring out what aperture and shutter speed you should use – the Available Light photography exposure calculator.
6. Edit your photos in image-editing software
Once you have taken your photographs, you can put star trail images together using either Adobe Photoshop or a free software called Star Trails.
In Photoshop, place all your raw images as separate layers in a new file by going to File > Scripts > Load Files into Stacks.
Highlight all the images you want and then open them. Next, select all the layers and then use "Lighten Blending" to change the blending mode to create star trails and arches.
To create bright night sky photos with a single or only a few shooting stars, it is recommended to use Adobe Lightroom adjustment layers (here is a good website to download free presets that can make night photography shots really stand out).
© Copyright IBTimes 2025. All rights reserved.
- MOST READ


