Windows 10: How to take native and Surface-specific screenshots like a pro


Windows 10 has introduced a bunch of smart and innovative features for PC and laptop users including some advanced ways of capturing screenshots on the go.
Folks at Windows Central have shared some popular methods for screen capturing such as Whole Desktop, just an individual app, and various Snipping tools:
Screencap + Share to Windows apps
Key combo: Win + H
Tapping Win + H key allows the Operating System (OS) to grab a screenshot and enable its access via Share feature immediately. For instance, this keyboard shortcut allows you to take a snapshot of the screen capture and share it over Outlook, Tweetium, or other Windows Apps from the Store.
Snipping Tool

The Snipping tool can be used to capture specific portions of the screen, which can be accessed via Cortana/Search. The tool is accessible from the New menu and is available with four different functions as follows:
- Free-form Snip
- Rectangular Snip
- Window Snip
- Full-screen Snip
The Snipping tool allows you to copy the captured image to the clipboard and then paste it on Paint or some other image editing tool, besides adding a time delay to the capture. This feature comes in handy if your screenshot includes time delay elements such as a mouse highlighting a portion of the image in the screenshot.
Whole Desktop (copy to clipboard)
Key Combo: PrtScr
Taking a screenshot of the whole desktop is one of the easiest and most popular methods of screen capturing. This task can be accomplished by pressing the PrtScr key on your keyboard.
This method enables you to copy the whole UI elements to the clipboard and lets you paste the same to paint and other image editing tools.
The Print Screen method can also be employed on any multi-monitor setup, as it grabs all screenshots from all displays at once.
Whole Desktop + Auto Save
Key combo: Win + PrtScr
Alternatively, you can record screenshots by pressing the Windows and PrtScr keys simultaneously. Unlike the previous method, this one saves the image automatically to the Pictures > Screenshots directory.
While employing this method, the screen dims to confirm that it has been captured and saved automatically.
Just an app
Key combo: Alt + PrtScr
This key combination enables you to particularly capture the full window of an active app, while omitting the rest of the desktop screen with other opened apps in the background.
This method can be used if you want to share your individual app experience with your friends and colleagues.
Surface specific keyboard shortcuts
Hardware keys
Key combo: Win + Volume Down
The entire display or desktop screenshots can be taken with this key combo. Just press and hold Windows button and then hit the Volume Down button.
The screen should dim for a moment and then the image will be saved to the Screenshots folder in the Pictures library.
Just an app
Key combo: ALT + FN + Space
Press and hold the Right [ALT] + [FN] keys together and hit Space key to take a screenshot within an app. Note: This combo will not work for desktop screenshots.
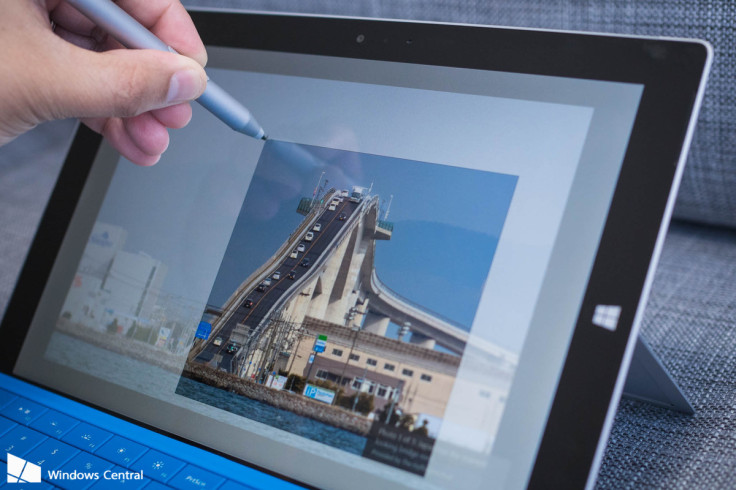
Surface Pen + OneNote
Here is how you do it:
- Just double-click the top button on the Surface Pen and then select whatever you want to capture in the screenshot by dragging the tip of the pen from one corner to the opposite corner.
- Then lift the tip of the pen to transfer the selection in a new page in OneNote.
- Finally, you can add more notes or drawings to the captured image.
If you are still not satisfied with the built-in or native features of Windows 10, then you can try exploring new avenues with a bunch of third-party apps:
- Greenshot (Free) GetGreenshot.org
- Screenshot (Free trial, $40) Screenshot.net
- SnagIT (Free trial, $50) Techsmith.com/snagit.html
- LightShot (Free) App.prntscr.com
- Screenmask ($0.99) Windows Store Link
[Source: Windows Central]
© Copyright IBTimes 2025. All rights reserved.
- MOST POPULAR IN Technology