How to clean install OS X El Capitan 10.11 via bootable USB flash drive

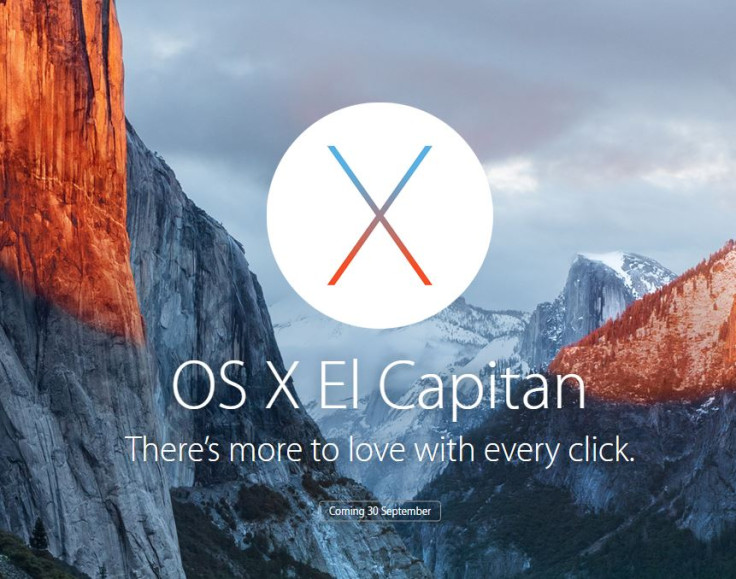
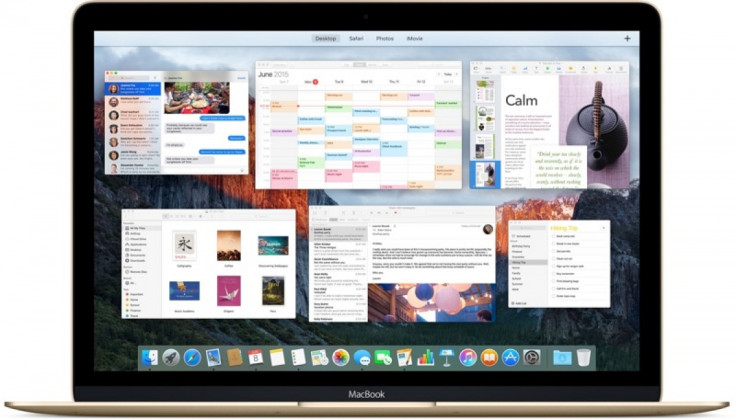
Apple released the latest version of the Mac operating system OS X El Capitan (10.11) on Wednesday, 30 September, which is based on the stunning user-interface (UI) design introduced in OS X Yosemite. Noteworthy features making their way into the new OS include Split View screen, Mission Control, Smarter search in Spotlight, enhancements to Mail app, new improved Notes app, faster graphics and snappier performance for everyday tasks.

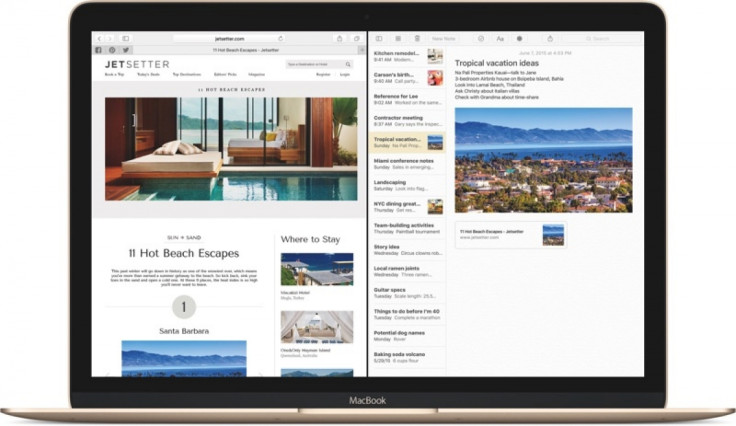
With its focus on user experience and performance, OS X El Capitan, brings hidden enhancements such as Metal Graphics technology which makes routine tasks such as launching apps faster and enhanced system-level graphics rendering. A key windows management feature in El Capitan, Mission Control, introduces a new Split View feature mirroring iOS 9's multitasking feature, wherein two apps can be used side-by-side.
Spotlight Search now supports natural language input, while the revamped Safari enables users to pin favourite sites on the tab bar. Besides, a new mute button in Safari helps recognise the specific tabs playing audio and then kill the sound when not needed.
El Capitan is now available for upgrade as a free download via the Mac App Store and if you wish to upgrade from Yosemite click the OS X Install app button to do so. However, if you are facing performance issues or post-update problems with OS X El Capitan then you should consider doing a clean installation of the OS, using the tried and tested bootable USB flash method posted below:
Prerequisites
A) OS X El Capitan is supported on the following devices with Yosemite pre-installed:
- iMac (Mid 2007 or newer)
- MacBook (Late 2008 Aluminium, or Early 2009 or newer)
- MacBook Pro (Mid/Late 2007 or newer)
- MacBook Air (Late 2008 or newer)
- Mac mini (Early 2009 or newer)
- Mac Pro (Early 2008 or newer)
- Xserve (Early 2009)
b) Download OS X 10.11 El Capitan Final via Mac App Store to its default location, which is the Applications folder.
c) Take a backup of important user data and settings on your Mac to an external hard drive, using the native Time Machine app or any third-party software.
d) Make a bootable USB flash drive with at least 8GB storage space.
How to make a bootable USB flash drive
Make a bootable USB flash drive via Disk Utility, before you proceed. Check out the steps, courtesy of Redmond Pie:
- Connect your USB drive to computer and launch Disk Utility from Applications section.
- From the left sidebar choose the USB drive, and then click on Erase tab.
- Just select Mac OS Extended (Journaled) in the format box and keep the default name, Untitled.
- Hit Erase button and let the USB formatting complete.
- Navigate to Partition tab and from Partition Layout drop-down menu, select 1 Partition. GUID Partition Table should be selected as the partition scheme in the Option section, with its name set to Untitled.
- Quit the installer after downloading El Capitan via Mac App Store and name the downloaded file as Install OS X Elcapitan.app for ease of identification.
- Open Terminal app from Applications/Utilities folder and enter the following command:
sudo /Applications/Install OS X Elcapitan.app/Contents/Resources/createinstallmedia –volume /Volumes/Untitled –applicationpath /Applications/Install OS X Elcapitan.app –nointeraction
Note: The above code has missing double dashes, and backward slashes in the quotes. Please replace "-" with "--" and add backward slash after "Install", "OS" and "X", when you enter the above command line in the terminal.
- Bootable USB flash drive should be created in around 10-20 minutes. Leave the Terminal alone and do not remove the flash drive during the process. A message saying: "Copy Complete. Done." should appear on the screen, once the process completes.
With the bootable USB flash drive ready for use, you are all set to clean install OS X El Capitan.
How to clean install OS X El Capitan on your Mac
Step 1: Double-check to see bootable USB flash drive is securely connected to your Mac and restart the computer. Hit the Option key (Alt) when you hear the start-up chime at boot.
Step 2: Select USB drive in start-up drive selection screen and press Enter/Return on the keyboard.
Step 3: The El Capitan installer should initiate the setup in just a few seconds or minutes.
Step 4: Select Disk Utility and then hit Continue.
Step 5: Choose Macintosh HD from the left hand-side pane and click on Erase tab on the top-right portion of the window. Just click Erase button at the bottom right with all the settings at their default values. All files on your startup hard drive will be erased during this process.
Step 6: Return to the main screen where you selected Disk Utility, after the erasing process is complete. Hit Install OS X and then click Continue.
Step 7: Select the erased Macintosh HD partition (step 5) and then click Install.
Assuming you have done the steps right, your computer should now be running OS X El Capitan with its completely revamped, new UI.
[Source: Redmond Pie]
© Copyright IBTimes 2025. All rights reserved.
- MOST POPULAR IN Technology