

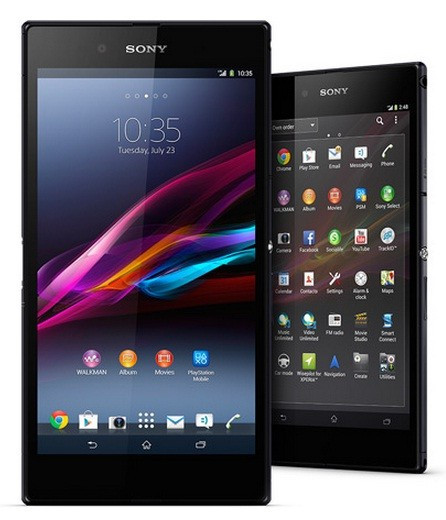
How to Install ClockworkMod/TWRP Recovery on Xperia Z Ultra [GUIDE]
With the market roll-out of Xperia Z Ultra that is expected on 13 September nearing, developers have been releasing several tweaks and tricks for the handset. The Xperia Z Ultra users can now install ClockworkMod as well as TWRP recovery on their devices.
Recognised XDA developer and contributor, krabappel2548, has released an advanced stock kernel for Xperia Z Ultra with unlocked bootloaders. The stock kernel comes with both CWM and TWRP recovery. Head over to the development thread to learn more about the stock kernel file.
Xperia Z Ultra users, who wish to install CWM/TWRP recovery on their devices, may follow our step-by-step guide.
IBTimes UK reminds its readers that it will not be held liable for any damage to the device. Users are also advised to verify that their devices meet following requirements.
Pre-requisites
1) Install USB Driver (Windows/Mac) for Xperia Z Ultra to connect the Android device with computer.
2) Enable USB Debugging Mode on phone to connect it with computer and use Android SDK with it. [Press Menu>> Settings>> Applications. From there navigate and click on Development option then check USB Debugging Mode.]
3) As the tutorial might wipe out all data of the phone, create a backup. If the device is having any custom recoveries such as CWM/TWRP installed then backup data using recovery.
4) The Xperia Z should have above 80% battery charge.
5) The recovery files work only on Sony Xperia Z Ultra with 510 and 493 LTE firmware. As flashing this on any incorrect variant might brick the device, verify the model number of the phone by navigating to Settings>> About device>> Model number.
Note: This guide works only for unlocked bootloaders. Head over to Sony official site for instructions to unlock the bootloader of Xperia Z Ultra. It should be noted that unlocking the bootloader will erase the data of phone.
Steps to install CWM/TWRP Recovery on Sony Xperia Z Ultra
Step-1: Download stock kernel with CWM and TWRP recovery for the Xperia Z Ultra to computer
File name: adv-stock-v4.img
Step-2: Setup fastboot on the computer [Click here for a guide to setup ADB and Fastboot driver with Android SDK.]
Step-3: Once the setup is completed, copy adb.exe, AdbWinApi.dll from C://android-sdk-windows/platform-tools and fastboot.exe in C://android-sdk-windows/tool to a new folder on the desktop. Rename it as fastboot
Step-4: Place the downloaded adv-stock-v4.img in the fastboot folder
Step-5: Power off the Xperia Z Ultra
Step-6: Enter Fastboot Mode by connecting the phone to computer using USB cable while pressing Volume Up button
Step-7: Open Command Prompt windows on the computer [To open Command Prompt go to Windows logo then type CMD in the search box and press Enter.]
Step-8: Type cd C:fastboot in the command prompt windows to navigate the fastboot folder. Also, to open the command windows with destination set to C:/fastboot press Shift + Right Click on the fastboot folder then select Open Command Windows here
Step-9: In the command windows, type adv-stock-v4.img to flash the kernel file on the phone
Step-10: Press and hold Power button to turn off the device
The CWM/TWRP recovery should now be installed on the Xperia Z Ultra.
To enter CWM recovery, press Power button and wait for Sony logo then press Volume Up button. To enter TWRP recovery, press Power button and wait until Sony logo appears then press Volume Down button.
Also read: How to Install Xperia Z1 Camera on Xperia Z/ZL/ZR/Z Ultra [TUTORIAL]
[Source: Android Teen]
© Copyright IBTimes 2025. All rights reserved.
- MOST READ


