Galaxy Nexus GSM Gets Official Android 4.1.2 Jelly Bean OTA Update [How to Install Manually]

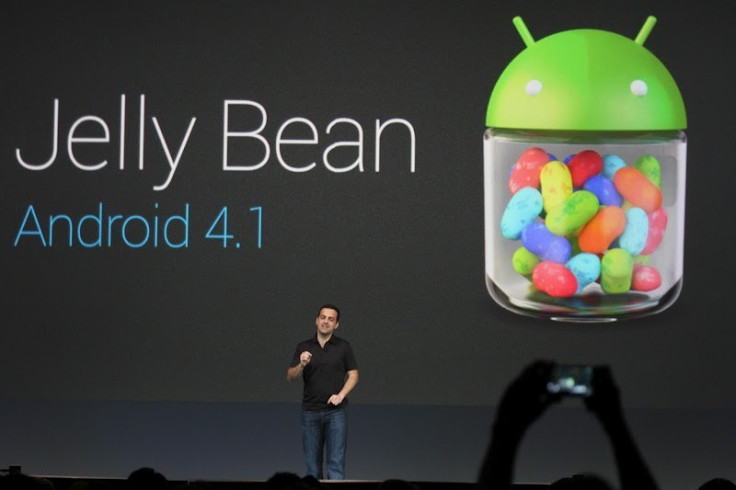
Galaxy Nexus GSM users are among the lucky few to receive the latest Jelly Bean OTA (Over-The-Air) update on their devices just a week after Google's Nexus 7 got the update. Keeping up with Google's tradition, all Nexus devices are the first to get the latest Android updates.
The new Jelly Bean update is just a bug-fix update with minor performance and user interface (UI) tweaks added to it. Users can now expand and collapse the notifications with swipe of one finger gesture as opposed to two finger gesture employed earlier. Another important feature ported into this update is the auto rotation support for home screen and lock screen.
Key Points to Note
- The new Android 4.1.2 OTA update is compatible only with the unlocked version of Galaxy Nexus GSM handset and will not work with any other device. Verify your device's model number by navigating to Settings > About phone.
- It is advisable to perform the OTA update using a Wi-Fi network in your area. So, ensure that you are connected to a local Wi-Fi network before proceeding.
- Verify that your phone battery is at least 85 percent charged to avoid unexpected device shutdown (due to battery drain) while performing the Android 4.1.2 Jelly Bean update.
- If you are performing an automatic OTA update, just follow the onscreen instructions to upgrade your device to Android 4.1.2. Your phone will reboot automatically after the installation and you will see the new feature enhancements with latest Jelly Bean update.
- The instructions provided in this guide are meant for reference purpose only and do not cover any warranty claims involving device damage or issues arising out of using the OTA update.
Check out the step-by-step guide below to upgrade Samsung Galaxy Nexus to official Android 4.1.2 OTA update manually. The guide includes two methods: one without root and the other rooted with ClockworkMod recovery installed.
How to Install Official Android 4.1.2 Jelly Bean Update on Galaxy Nexus Manually
Method 1: Install Android 4.1.2 OTA on Galaxy Nexus with stock recovery, locked bootloader and without rooting.
Step 1:Ensure that your Galaxy Nexus is running JRN84D baseband firmware or newer before proceeding with the installation of Jelly Bean OTA update. Verify your device's model number and firmware version installed by navigating to Setting > About Phone.
Step 2: Verify that Android ADB is installed on your PC. If not, then install it first using the guide posted here.
Step 3: Download the Android 4.1.2 OTA update for Galaxy Nexus to your PC.
Step 4: Copy the update to the same folder as your ADB binary.
Step 5: Power off your Galaxy Nexus.
Step 6:Reboot into stock recovery mode. In recovery mode, use volume keys to navigate and power button to select the option.
Step 7: Choose apply update from ABD.
Step 8: Connect your phone to the computer.
Step 9: Launch the command prompt in the same directory as your ADB binary (Note: If you are using Windows 7 or above, then right-click on the folder while holding down the shift button on your keyboard, then select open command prompt here.)
Step 10:Enter the following command to make sure the phone is connected to the PC properly:
adb devices
Step 11:Enter following command to install the update, and remember to mention the name of .zip file:
adb sideload name-of-file.zip
Step 12: Reboot phone.
Method 2: Install Android 4.1.2 OTA Update on Galaxy Nexus with ClockworkMod Recovery installed
Step 1: Download official Android 4.1.2 OTA update for Galaxy Nexus from here to your computer (Note: Download the correct update for your phone variant. You can check your device model number from Settings > About Phone).
Step 2: (Skip this step if your device already has any Jelly Bean version installed) Open the archive and then delete the recovery folder.
Step 3: Copy the Android 4.1.2 OTA .zip file you downloaded in step 1 to your Galaxy Nexus.
Step 4: Power off the device.
Step 5:Press and hold down volume up, volume down and power buttons together to reboot the device into recovery mode.
Step 6: In recovery mode, perform a Nandroid Backup of your current ROM. So, if anything goes wrong with the new ROM, you can easily restore your original ROM. To create backup choose Backup and Restore, and then tap Backup again.
Step 7: Return to main menu by clicking Go Back.
Step 8: Choose Install and locate the .zip file that you copied to your phone in step 3. Double tap on the file to begin the installation and click yes to confirm. The ROM installation is time-consuming. So, leave it alone.
Step 9: Once the ROM is installed, hit Go Back and tap Reboot System Now to restart your phone.
Official Android 4.1.2 Jelly Bean OTA update is now successfully installed on your Galaxy Nexus phone. Go to Settings > About phone to verify the firmware version installed.
[Source: Android Egis]
© Copyright IBTimes 2025. All rights reserved.


