Root Xperia ZL Running on Android 4.2.2 Jelly Bean [GUIDE]
Prior to the Android 4.2.2 roll-out for the Xperia Z, Sony released the Jelly Bean update for the Xperia ZL, which was shipped with Android version, 4.1.2.
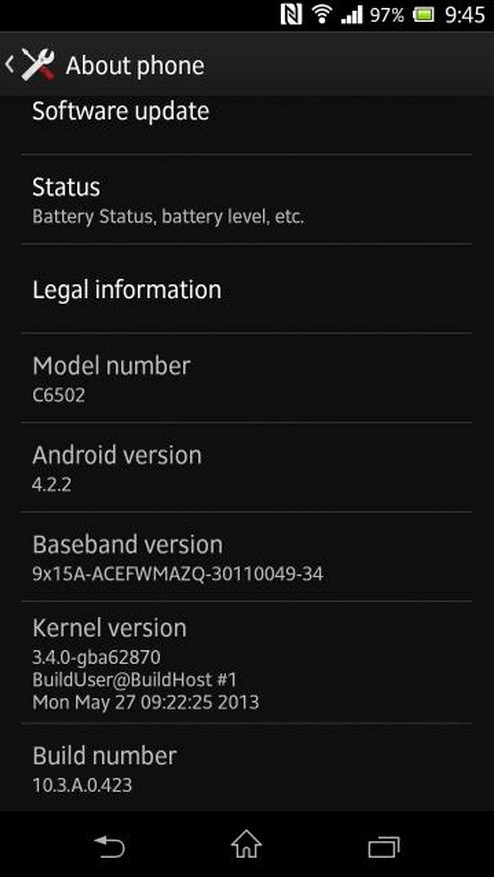
With build version 10.3.A.0.423, the Android 4.2.2 official update is also available for the European LTE version of the handsets bearing model number C6503.
Those who have already upgraded their handsets with Android 4.2.2 and currently looking for a root method, may follow our step-by-step guide. The tutorial uses Easy Rooting Toolkit v16 released by recognised XDA developer, DooMLoRD.
The key feature of the toolkit is it worked on both locked and unlocked bootloaders. Along with rooting the device, the toolkit installs Busybox and SU files.
IBTimes UK reminds its readers that it will not be held liable for damage to the device. Users are also advised to verify that their devices meet following requirements.

Pre-requisites
1) Install USB Driver for Sony Xperia ZL to transfer files between the Android device and the computer.
2) Enable USB Debugging Mode on the phone to connect it with the computer and use Android SDK with it. [Press Menu>> Settings>> Applications. From there navigate and click on Development option and check the USB Debugging Mode.]
3) As the tutorial might wipe all data of the phone, create a back-up. If the device is having any custom recoveries such as ClockworkMod/TWRP already installed, then backup data using the recovery. Click here for guide to install CWM recovery on Xperia ZL.
4) The battery of Xperia ZL should have above 80 per cent of charge.
5) Increase the screen timeout on the phone to 10 minutes by navigating to Setting>> Display>> Sleep>> 10 mins.
6) Enable install from Unknown Sources by selecting Menu>>Settings>> Applications.
7) Rooting the device will void manufacturer's warranty. However, users can reclaim the warranty back by unrooting the device later.
8) The easy rooting toolkit works only on Sony Xperia ZL with both locked and unlocked bootloader. Flashing this on any incorrect variant is likely to brick the device.
Steps to root Sony Xperia ZL running on Android 4.2.2 Jelly Bean
Step-1: Download easy rooting toolkit for Sony Xperia ZL to the computer
File name: DoomLoRD_Easy-Rooting-Toolkit_v16_perf-event-exploit.zip
Step-2: Extract the download root zip, using winrar/7zip/winzip or any other extracting tool, to a folder
Step-3: Connect the Xperia Z to the computer using USB cable
Step-4: Go to the rooting toolkit extracted folder. Then run and execute the RUNME.bat file
Step-5: Read and follow the instruction on the screen to continue
Step-6: Finally reboot the phone after the script finishes execution
The Sony Xperia ZL should be now rooted successfully on Android 4.2.2 Jelly Bean. To verify the root status further, download and install Root Checker app from Google Play Store.
Note: Those who are facing issue of device rebooting when remounting or system partition, click here for a fix released by recognised developer, NUT.
[Source: XDA Developer]
© Copyright IBTimes 2025. All rights reserved.
- MOST READ