iOS 6/6.1 Untethered Jailbreak: How to Jailbreak iPhone 5 and other iOS 6 devices Using Evasi0n 1.2 [Tutorial]

The Evad3rs Dream Team rolled out the latest version of untethered jailbreak evasi0n 1.2 (for iOS 6, 6.0.1, 6.0.2 and 6.1) on Friday 8 February, bringing a couple of new feature enhancements along with bug-fixes (from evasi0n 1.1 release) for Weather app crash and long reboot issues.
The new feature enhancements added to evasi0n 1.2 are as follows:
- Disable OTA updates
- Correct timezone issue in evasi0n binary if client fails to correct it
The disable OTA update feature should come in handy to prevent you from accidentally updating your iPhone to the latest iOS 6.1.1 beta release from Apple. The beta update may harbour a few untested bugs or broken features as it is still under development. Hence, users are advised to avoid any further software updates after iOS 6.1 (although iOS 6.1.1 is still jailbreakable using Redsn0w 0.9.15b3 and evasi0n 1.2).
Timezone bug is also fixed in the newly released evasi0n 1.2 untethered jailbreak, to address issues with certain jailbroken devices depicting incorrect system timezones. Users who have already jailbroken their devices using evasi0n can now update their existing jailbreak with evasi0n 6.0-6.1 Untether package in Cydia in order to fix the aforementioned bugs (there is no need to re-jailbreak again).
However, users who have not yet jailbroken their devices on iOS 6 can follow our step-by-step guide below for an untethered jailbreak on iOS 6/6.1 using evasi0n 1.2.
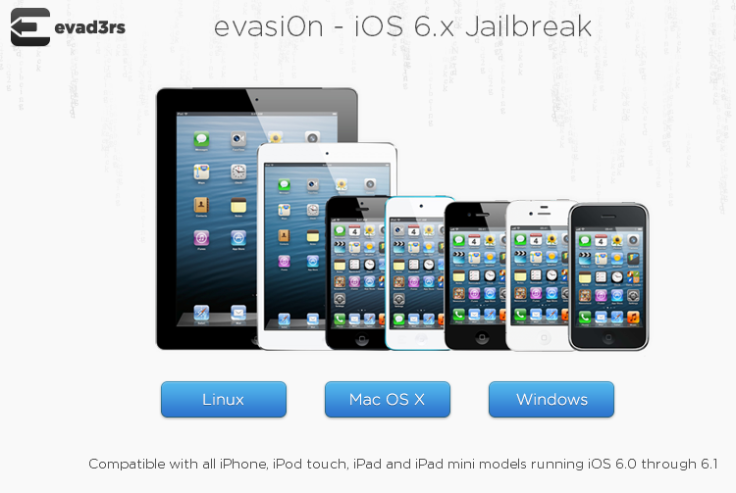
List of supported devices for evasi0n 1.2 untethered jailbreak tool
- iPhone 5, iPhone 4S, iPhone 4, iPhone 3GS
- iPad 4, iPad 3, iPad 2, iPad mini
- iPod touch 4, iPod touch 5
(Apple TV 2 and Apple TV 3 are not yet supported)
NOTE: Users who are already running a tethered jailbreak on iOS 6.1, should use the Cydia package online to convert their tethered solution into an untethered jailbreak (click here to see our step-by-step guide)
System Requirements
- A computer running Windows XP or above,Mac OS X v10.5 or above or Linux
- An iPhone,iPad or iPod running iOS 6.0 through 6.1 (you may verify the version in Settings > General > About > Version)
- A USB cable to connect the device to computer
Key Points to Note
- Back up the device using iTunes (or iCloud) before using evasi0n.
- Disable the lock passcode of the iOS device before using evasi0n, as it can cause issues.
- Avoid all iOS and iTunes related tasks until evasi0n process completes.
- If the process gets stuck somewhere, try to restart the program, reboot the device (press and hold down Power and Home buttons until it shuts down), and rerun the process.
- If an error message appears saying that evasi0n cannot be opened, control-click (or right-click) the app and on the revealed context menu and choose Open. On the ensuing dialogue box, choose Open as well.
Here is the step-by-step guide to jailbreak iOS 6.0, 6.0.1, 6.0.2 and 6.1 on both Windows (Windows 7, Windows Vista and Windows XP) and Mac OS X using the latest version of evasi0n untethered jailbreak tool.
How to Jailbreak iPhone 5 and other iOS 6 devices Untethered Using Evasi0n 1.2
Step 1: Download evasi0n tool for your operating system (Windows, Mac OS X, Linux) and extract the package.
Step 2: Windows users should extract the download to the desktop and open the evasi0n folder. Right-click on the evasi0n.exe file and choose Run as administrator. Then click yes in the ensuing pop-up window for User Access Control.
Mac users should just double-click the evasi0n app to run it.
Step 3: If you have a passcode set for the device, unlock it by going to Settings > General > Passcode Lock and select Turn Passcode Off.
Step 4: Connect your iOS device to computer via USB cable. NOTE: All iOS 6 compatible devices can be jailbroken except Apple TV.
Step 5: Evasi0n tool should now recognise the device and the jailbreak button will be activated or clickable.
Step 6: Click jailbreak button to begin the jailbreak process.
Step 7: Evasi0n will go through several processes in sequence which include preparing jailbreak data, rebooting the device, uploading Cydia, injecting jailbreak data and finally uploading the Cydia packages list. As this process is reportedly time-consuming, it is advisable to wait for some time.
Step 8: After the completion of step 7, you will be prompted to unlock the device. On the lock screen, just slide to unlock the device and a new app icon reading "Jailbreak" appears on the second page of Home screen. Tap the jailbreak icon once. Now, the screen will go black and then return to Home screen instantly.
Step 9: At this point, Evasi0n will display a series of messages: injecting jb data, Root Filesystem successfully remounted and so on. The device will reboot multiple times during this process and may take longer than expected. So, leave the device alone and take a break if needed.
Step 10: Windows users: After the jailbreak process is finished, a "Done" message appears on the screen. A large evasi0n logo should now appear on your device screen briefly for a couple of times, and then stay on for a longer while. Finally, the device boots to the Lock screen, from where the device can be unlocked and a Cydia icon will be shown on the Home screen. Now, proceed to step 11.
Mac Users
For Mac users, the device will reboot soon after the "Done" message appears on the screen. Wait for the first reboot to complete, as it may take longer than normal due to various background processes initiating the first time setup. The device may reboot several times during this process. Finally, a large Evasi0n logo appears on a white background along with a series of brief messages: "Setting up fstab and AFC2", "Setting up Cydia", "Settings up Cydia packages", "Clearing Springboard Cache" and "Rebooting".
After a brief flashing of messages on the white evasi0n background, the device will reboot for the final time. After the reboot, another set of messages will pop up on the white evasi0n screen: "initialising offsets", "Finding offsets", "Patching kernel", "Cleaning up!" and "Done! Continuing boot".
After these final sets of messages, the device returns to the Lock screen and signals that the jailbreak process is complete. Now, unlock the device by swiping over to second page of the Home screen and launch Cydia. Cydia may take a couple of minutes to load on first boot, as it will initialise the process. The device returns to Lock screen one final time. Unlock the screen, launch Cydia and choose user type.
Step 11: The iOS device is now successfully jailbroken.
NOTE: Remember to re-enable passcode if it was removed as suggested in Step 3.
[Source: iDownloadBlog - Mac / Windows]
© Copyright IBTimes 2025. All rights reserved.
- MOST POPULAR IN Technology