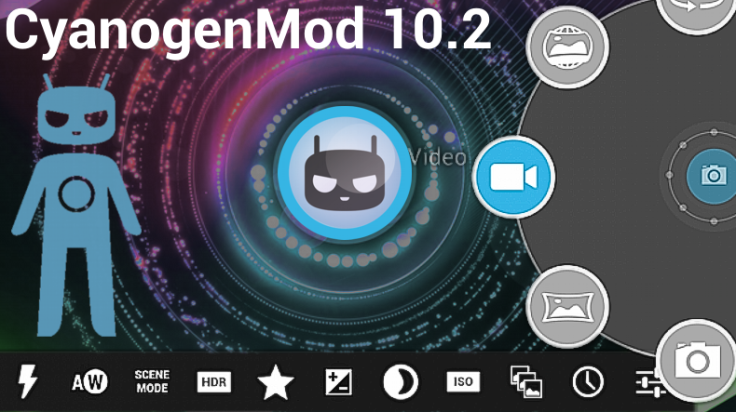
Galaxy Nexus I9250 Receives Custom Android 4.3 via CyanogenMod 10.2 Nightly ROM [How to Install]

Google recently rolled out its stock Android 4.3 Jelly Bean firmware for a spate of Nexus devices including the Galaxy Nexus I9250. In addition, Nexus 4 and Galaxy Nexus can now experience custom Android 4.3 features, thanks to the release of latest CyanogenMod 10.2 (CM10.2) Nightly ROM.
This is the first nightly build of CM10.2 ROM for Android 4.3, which is based on the original Android Open Source Project (AOSP). It is designed to enhance performance and reliability over stock Android versions from vendors and carriers such as Google, HTC, T-Mobile and Verizon.
Key Points to Note
- The CyanogenMod 10.2 ROM and the instructions provided are limited to Galaxy Nexus I9250 model only. Verify device model number by navigating to Settings > About Phone.
- Back up data and settings using a recommended custom recovery tool such as ClockworkMod (CWM) or TWRP, as data wiping process is mandatory in this tutorial.
- Download and install the correct USB drivers for Galaxy Nexus I9250 on computer.
- Ensure USB debugging mode is enabled on phone by navigating to Settings > Applications > Development or Settings > Developer Options.
- Double-check that device has at least 80% battery charge to prevent unexpected device shutdown (due to battery drain) while installing ROM.
- Verify if the device is unlocked (not locked to specific carrier) and rooted with ClockworkMod Recovery (CWM) installed.
- If the device is stuck at booting or experiences boot loop issues, Wipe Cache Partition and Wipe Dalvik Cache a few more times before rebooting.
- Allow newly installed ROM to stabilise for five minutes before using the device.
- If a Status 7 error message flashes while installing firmware, it could be due to an incompatible device or absence of a necessary kernel (for instance, a Jelly Bean Kernel must be installed before installing any Jelly Bean ROM).
- Instructions provided in this guide are meant for reference purpose only. IBTimes UK will not be held liable for any device damage during or after ROM installation. Users are advised to proceed at their own risk.
How to Install Android 4.3 Jelly Bean on Galaxy Nexus I9250 via CyanogenMod 10.2 Nightly ROM
- Download Android 4.3 CyanogenMod 10.2 Nightly ROM and Google Apps for Galaxy Nexus on computer.
- Connect and Mount the phone's USB mass storage on computer via USB cable.
- Now, copy the downloaded Android 4.3 ROM zip and Google Apps zip files to the root folder on phone's SD card.
- Power off the phone and disconnect its USB cable from computer.
- Boot the phone into Bootloader mode by pressing and holding Volume Up, Volume Down and Power buttons together.
- Follow the onscreen navigation instructions and then select Bootloader option to enter recovery mode.
- In ClockworkMod recovery, perform a full data wipe task by choosing Wipe Data / Factory Reset. NOTE: Use volume buttons to navigate and Power button to select the desired option in recovery.
- Wait until the wipe process completes and then perform Wipe Cache Partition. Let the process complete and then select Wipe Dalvik Cache from advance option. This will prevent ROM related errors or boot loop issues.
- Once the wipe process is done, return to main recovery menu and click Install Zip from SD card.
- Then select Choose Zip from SD card. Now, locate the Android 4.3 ROM zip file you copied earlier to the phone and select it by tapping Power button. Confirm the ROM installation on next screen and let the installation begin.
NOTE: Repeat the previous step for installing Google Apps as well.
- After Google apps is also installed, choose "+++++Go Back+++++" and tap on reboot system now in the recovery menu. The phone will now reboot automatically and the first boot might take about five minutes to complete. So, do not interrupt the process.
The Galaxy Nexus I9250 is now running on Android 4.3 based CyanogenMod 10.2 Nightly ROM. Go to Settings > About Phone to verify the firmware version installed.
ALSO READ: Update Galaxy Nexus I9250 to Android 4.3 with ParanoidAndroid 3.99 ROM [GUIDE]
[Source: Team Android]
© Copyright IBTimes 2025. All rights reserved.
- MOST POPULAR IN Technology