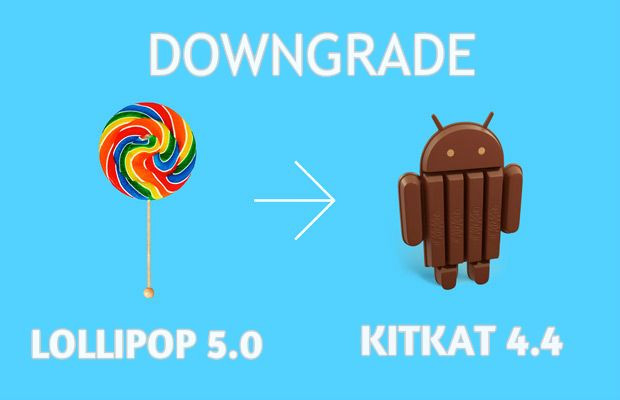
How to downgrade from Android 5.0 to Android 4.4 on Nexus devices

Android Nexus users are in for some great news, as it is now possible to downgrade any Nexus device from any version of Android 5.0 Lollipop to Android 4.4 through Android 4.4.4, using a simple step-by-step guide.
In other words, you can now downgrade Nexus 4, Nexus 5, Nexus 7, Nexus 9 and Nexus 10 from Android 5.0.x to the previous Android version or KitKat.
Nexus users who are facing inherent performance and usability issues with Android 5.0 Lollipop can now safely downgrade their mobile operating system to the previous version. For instance, you can downgrade your Nexus device from Android 5.0.2 to Android 4.4.4.
IBTimes UK reminds readers that it will not be held liable for any damage to device during or after the downgrade process. Users are advised to proceed at their own risk.
Pre-requisites
- The instructions and software provided in this guide are limited to Google Nexus device. Do not attempt this guide on non-Nexus devices as it may inadvertently brick or damage your device. Verify the device's model number by going to Settings > About Phone or About Tablet.
- Back up important data and settings on your Nexus device before you proceed, as the downgrade procedure will wipe the device completely.
- Ensure that the device is not rooted, but its bootloader must be unlocked to run 'unlock' and other commands during the flashing process.
- Ensure USB debugging mode is enabled on your Nexus device by going to Settings > About phone > Developer Settings > USB debugging. Note: Tap the build number at the bottom of screen seven times to unlock the developer settings option.
Downloads Required
Google Nexus factory image (download the appropriate Android 4.4.4 factory image for your Nexus device)
ADB installer for Windows (required for Android 5.0 downgrade)
Nexus Tools for Mac (open Terminal and copy the command from XDA into the Terminal window to install it)
Steps to downgrade Android 5.0 to Android 4.4 on Nexus devices
Step -1: Connect the Nexus device to computer and choose Yes to confirm that it is a trusted source.
Step -2: For Mac: Open Terminal app on Mac and type "adb devices". This will list out the connected devices to your computer.
For Windows: Go to the adb folder located at C:adb and then type cmd in the address bar to launch a command window. Then type adb devices and hit Enter.
Step -3: Enter the following command into the terminal or command window: adb reboot bootloader
Step -4: Once the Nexus device boots into the bootloader menu, type the command: fastboot oem unlock
Step -5: Hit the Volume Up button to accept the prompt to wipe the device and then hit Power to confirm the action.
Step -6: Perform wipe cache and factory reset on the Nexus device as follows:
- Power off the device
- Press and hold the Volume Down and Power button to reboot into Bootloader mode.
- Use Volume key to switch to Recovery Mode and Power button to select it.
- Now the device should reboot and a small Android logo should appear on screen along with "No command" message below it.
- At this moment, tap the Power button and then hit Volume Up once.
- On the ensuing screen, choose the option: Wipe Cache Partition. Use Volume buttons to scroll and Power button to select an option in Recovery.
- Finally, select Wipe Data/Factory Reset option and then select Yes to confirm.
Step -7:Ensure the Nexus device is connected to your computer via USB cable and then browse to the location where you copied or downloaded the KitKat factory image for your Nexus device.
Step -8: Power off the Nexus device and then press and hold Volume Up and Power buttons together until the device enters bootloader mode.
Step -9: Try launching the Terminal app in Mac or Command window on Windows.
Step -10: For Mac: Perform two-finger click and select New Terminal at Folder. If this option is missing, go to System Preferences -> Keyboard -> Shortcuts -> Services -> check New Terminal at Folder
For Windows: type cmd in the address bar of the Explorer window and hit enter to start one there.
Step -11: On Windows type:
flash-all.bat
On Mac type:
sudo ./flash-all.sh
Step -12: Enter your system password and you will see various commands appearing on screen.
Step -13: Wait until the Command or Terminal window reads that it is rebooting and then says finished.
Wait for a few minutes and your Nexus device should reboot into the newly installed Android 4.4.4 KitKat update.
[Source: GottaBeMobile]
© Copyright IBTimes 2025. All rights reserved.
- Recommended For You