

Samsung Galaxy S5: How to Set up New Galaxy Smartphone
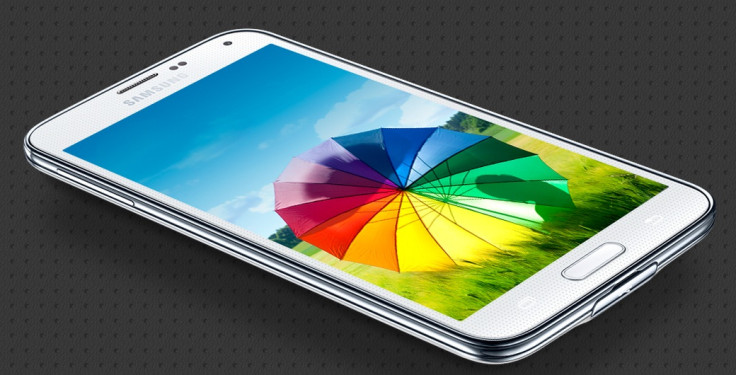
Samsung's latest addition to its Galaxy series, Galaxy S5, is now available for purchase across the globe, with the first day sales figures twice more than that of its predecessor, Galaxy S4.
Those users, who have managed to grab a new model and excited to run the device, may follow our step-by-step guide explaining an easy process to set up the smartphone.
How to Set up Samsung Galaxy S5
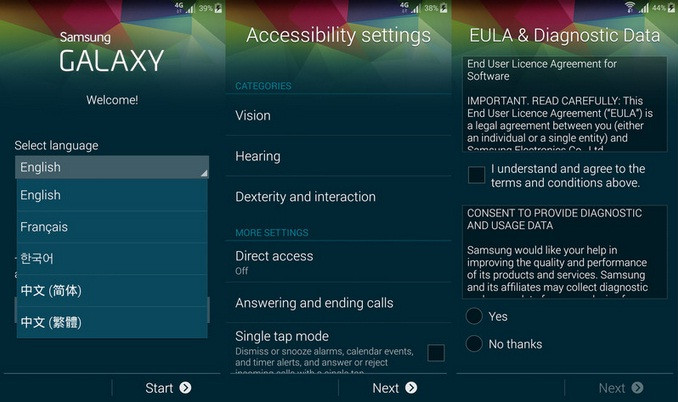
Step-1: Pick the desired language by tapping the grey box with the word English in it and tapping preferred language. Tap on Accessibility settings button to activate features for the vision, hearing and dexterity impaired. Tap the Start button in the bottom-right to continue.
Step-2: Connect to a Wi-Fi network for data access on the next screen. Tap the Wi-Fi toggle in the top-right. It should be set to a green "I" icon. Now wait for it to scan for the available networks. Tap your network and type in the password for this. In case you do not have this option, there is nothing to worry, as you will be able to connect over cellular network.
Step-3: Read the end-user license agreement at the top on the next screen and check the box below it. Below the EULA, you should see the options to provide Samsung and its partners with diagnostic data from your phone. You may decline this by tapping "No thanks" button below. Tap the Next button in the bottom right to continue.
Step-4: You should be prompted to enter Google username and password. Tap Yes to sign in or, No and Not Now to continue without an account. No and Get an account to sign up for one.
Step-5: Choose which Google location services you wish to enable. The first checkbox enables or, disables the use of Google's own location services, the second enables location-specific services throughout the software, and the last one gives permission to search for Wi-Fi networks to estimate location even if Wi-Fi is turned off. Tap Next at the bottom-right.
Step-6: Type your first and last name in separate fields, so the phone can use it throughout the OS. Tap the arrow at the bottom-right when you have typed your name.
Step-7: Sign into Samsung account on the next screen. This is optional and replicates many functions of your Google account, such as back up and location services. It can be handy for connecting to your home network through the Link desktop software. Sign in and enable restoring and auto-backup functions.
Step-8: On the next screen, log into Dropbox if you have an account, which allows to automatically upload pictures taken on the Galaxy S5 to the cloud. You will get 50GB free storage if you sign up for the first time on that screen. Otherwise also you can sign in and enable pictures and video uploading. Tap the Finish button at bottom-right.
Step-9: You have to do software update. These are the latest operating system improvements, which were not available when the phone' software was originally installed. Install the update by tapping the button at the bottom when you have data coverage. The Galaxy S5 will restart and install the software update.
Step-10: When you log into Google, many of the pre-installed apps are likely to be updated once the phone boots up again. You need to approve some of them. Tap the Play Store icon on the first home screen, tap the menu button in the top-left and tap My Apps.
When the Samsung Galaxy S5 boots up successfully it should be ready to use.
[Source: Android Central]
© Copyright IBTimes 2025. All rights reserved.
- MOST READ


