Fallout 4: Automatron DLC guide – How to craft your own robots and customise companions


Fallout 4 may already contain a handful of robotic companions, yet while the synthetic detective Nick Valentine and the Mister Handy and Miss Nanny duo of Codsworth and Curie are faithful support characters, the Automatron DLC thankfully introduces mechanical cohorts capable of turning the tide in a shootout.
The robot-crafting mechanics are the main factor in the add-on's appeal: while taking down the sinister comic-book villain The Mechanist in the short campaign is surprisingly enjoyable, building a robot buddy of your very own is much more fun.
Catch up on all of our news, reviews and guide for Fallout 4
Before you can start tinkering with your robo-friend's weapons, armour and appearance, however, you will need to unlock the Robot Workbench. Here is the IBTimes UK guide for unlocking robot crafting.
How to access the Fallout 4: Automatron DLC
It's an obvious and simple one, but you will need the DLC installed before you can start the Automatron missions. Once downloaded via either the season pass or a one-off purchase, the extra content should appear on the title menu under Add-Ons. If not you may need to restart your Xbox One or PS4 console, or for Steam players make sure the add-on shows in your library.

Listen to the Caravan Distress Call
For existing players of Fallout 4, as soon as you reload your chosen save game you will receive a notification about the Caravan Distress Call and be assigned the Mechanical Menace quest.
For newcomers to the Commonwealth, the mission will only unlock once you have left the confines of Vault 111, although we recommend you at least finish Act 1, ending with Reunions, before tackling the DLC. When you are prepared to start, switch to the Radio tab on your Pip-Boy and tune into the new channel.
Where to find Wattz Consumer Electronics
After listening to the distress call, you will need to head towards the entrance of the Wattz Consumer Electronics building located North of Monsignor Plaza and South of the creepy, anti-synth Covenant settlement.
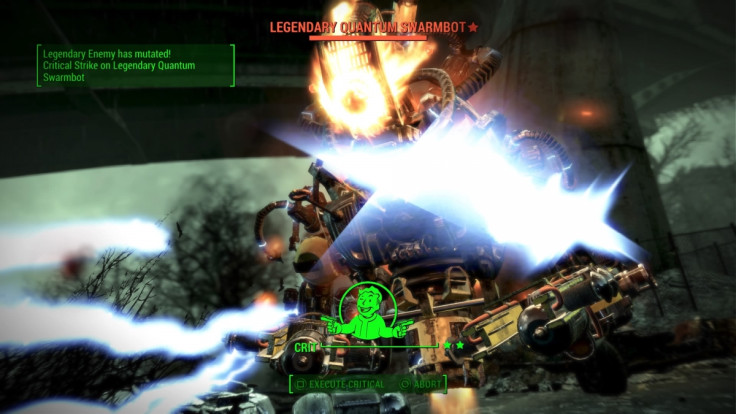
If you have already visited the area, on arrival you will be greeted by an almighty firefight between fighting robots, most of which are all-new enemy types. This is a fairly easy encounter, so get involved with your weapon of choice, although be careful of the Legendary Quantum Swarmbot that mutates as you deplete its health.
While clearing the rogue robots, you may notice a friendly blue droid fighting alongside you. This is Ada who joins you as a companion during the Automatron campaign. Talk to it following the skirmish and it will lament its fallen friends (don't select the joke responses, you heartless beast) and set you up for the next quest A New Threat.
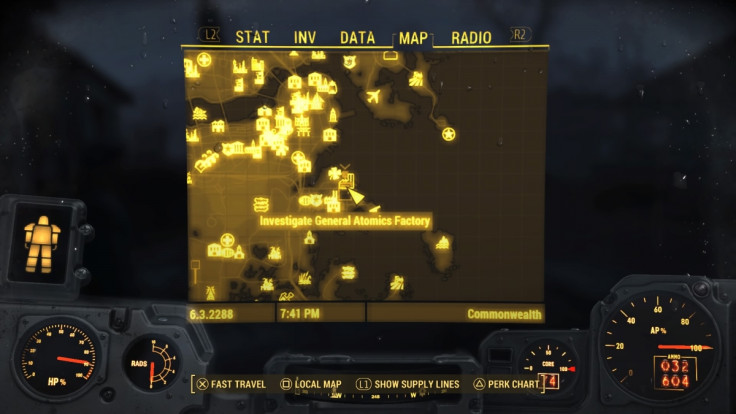
Where to find the General Atomics Factory
It turns out that you need a specific robot part to find The Mechanist, and Ada will point you in the direction of one of its cohorts that happens to house the particular item required. The Robobrain you need to extract the device from is found inside the General Atomics Factory, which you will find to the Northwest of the Minutemen base The Castle (see above).
Be warned: some of the standard enemies in here carry some serious firepower, including Gamma weapons that cause significant radiation damage. If you have some decent Power Armour, it might be worth suiting up before you step through the factory doors.
Where to find the Radar Beacon
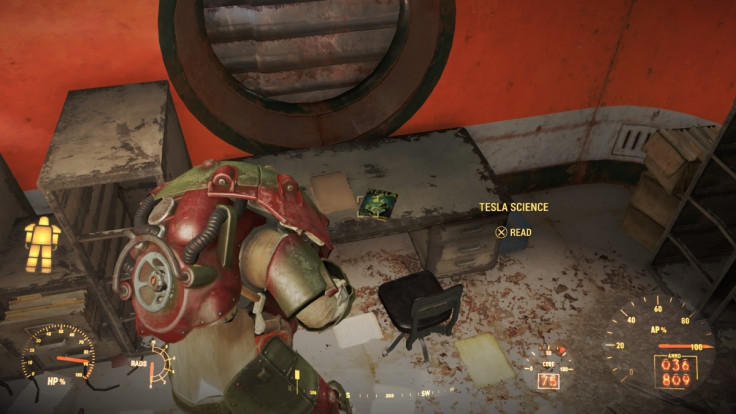
General Atomics is a bit of a geographical mess, but the Robobrain (yes, it is a robot with an actual live brain inside it) you are after is located on the middle floor behind a terminal-controlled door.
If you have struggled with the general fodder so far, head up to the third floor and look for a hidden room with a hole in the floor. This room sits directly on top of the Robobrain's lair, so throw a handful of grenades on it and the legendary friend that accompanies it.
Grab the Mechanist Device from the wreckage and leave the factory after picking up any loot and crafting materials you might want.
Building the Robot Workbench
After dispatching the Robobrain, Ada will ask you to install the Radar Beacon on to it so you can access the schematics. To do so, you will need to finally build the Robot Workbench that you can craft at any chosen settlement you have successfully liberated.
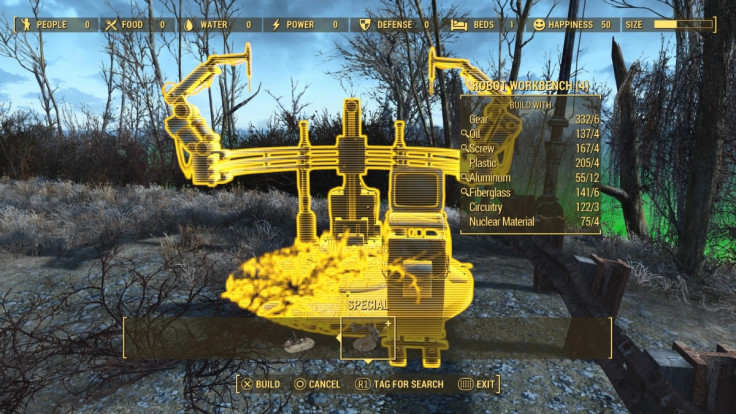
The image above displays the junk required to build this particular workbench that you will find under the Special category in crafting mode. Once you have the necessary resources, build the device in a spot you deem appropriate and say hello to your new robot-crafting machine.
Interact with the monitor on the workbench's right-hand side to open the crafting menu; from there you can assign your existing robotic companions (not Nick: he's a synth) or build an entirely new AI ally from scrap.
For all the latest video game news follow us on Twitter @IBTGamesUK
© Copyright IBTimes 2025. All rights reserved.
- MOST POPULAR IN Games