

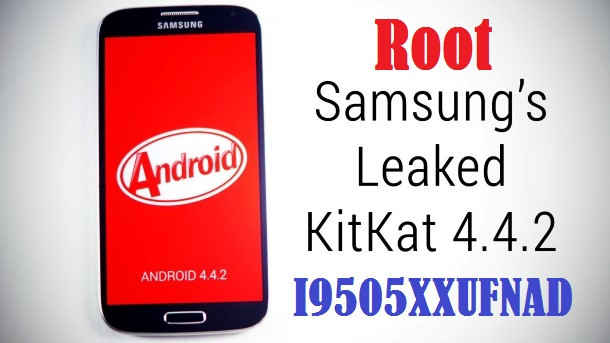
Root Galaxy S4 (LTE) on Android 4.4.2 I9505XXUFNAD Leaked Test Firmware

Galaxy S4 (LTE) GT-I9505 users who recently updated their phone to Android 4.4.2 KitKat via leaked test firmware build I9505XXUFNAD can now root the same using CF-Auto-Root by Chainfire.
The new CF-Auto-Root package not only provides root access for Galaxy S4 LTE, but also provides access to install custom ROMs as well as third-party apps and tweaks on your device. As this could trigger the KNOX warranty void bit on the device, a new SuperSU fix has been released by the developer to disable or bypass KNOX.
Android 4.4.2 I9505XXUFNAD KitKat Firmware Details
Model: GT-I9505
Country: Open Europe
Version: Android 4.4.2
Change-list: 481100
Build date: Tuesday, January 28, 2014 22:02:19 +0000
Product Code: OXX
PDA: I9505XXUFNAD
CSC: I9505OXXFNA2
MODEM: I9505XXUFNAD
Consequently, prospective users who want root access on their Galaxy S4 running the latest I9505XXUFNAD Android 4.4.2 or any other KitKat firmware may follow our step-by-step guide given below.
IBTimes UK reminds its readers that it will not be held liable for any damage to device during or after root installation. Users are advised to proceed at their own risk.
Pre-requisites
1. Install necessary USB Drivers for Galaxy S4 (LTE) I9505 on the computer.
2. USB Debugging Mode should be enabled on the phone by navigating to Settings >> Developer Options.
3. Back up your important data to avoid potential data loss during firmware installation.
4. Ensure the phone is factory unlocked (not locked to any specific carrier) and running latest Android 4.4.2 I9505XXUFNAD leaked test firmware.
5. Verify Galaxy S4 LTE has at least 80 percent battery charge.
6. The I9505XXUENAA Android 4.3 firmware is compatible with Galaxy S4 GT-I9505 only. Do not attempt installing it on incorrect variants as it may brick the device. Verify the model number of the Galaxy S4 by navigating to Settings >> About Phone.
Downloads Required
- CF-Auto-Root for Galaxy S4 I9505 (CF-Auto-Root-jflte-jfltexx-gti9505.zip)
- Odin 3.07 (Alternate Link)
Steps to Root Galaxy S4 LTE on Android 4.4.2 XXUFNAD Leaked Test Firmware
Step 1: Extract CF-Auto-Root and Odin 3.07 files using WinRAR/7-Zip or WinZip.
Step 2: Power off the Galaxy S4. Now boot the device into Download Mode by pressing and holding Volume Down, Homeand Powerbuttons together until a construction Android robot icon with a warning triangle appears on screen. Then tap Volume Up button to progress into Download Mode.
Step 3: Open Odin on computer as an Administrator.
Step 4: Connect Galaxy S4 (LTE) to computer via USB cable in Download Mode. Wait for the device to get recognised in Odin. When the device connects successfully, the ID: COM box will turn light blue with the COM port number along with a message saying Added.
Note: If the Added message fails to appear, then try re-installing USB drivers or changing the port on the computer.
Step 5: In Odin, tap PDAbutton and choose CF-Auto-Root-jflte-jfltexx-gti9505.tar.md5file.
Step 6: Ensure Auto Reboot and F. Reset Time options are selected in Odin. But, the Re-Partition option must be unchecked.
Step 7: Verify Step 5 and Step 6, and then hit Start button in Odin to begin the root installation process.
Step 8: After installing the root, your Galaxy S3 will reboot and soon you will see a PASS message with green background in the top left-most box in Odin. It is now safe to disconnect the USB cable and remove the device from computer.
Samsung Galaxy S4 is now rooted on Android 4.4.2 XXUFNAD leaked test firmware. It is now possible to install any app requiring root permission. Verify the root status of your phone by downloading and installing Root Checker app from Google Play Store.
NOTE: If you want to reset the flash counter after rooting or installing custom ROMs, then you need to flash Triangle Away app (download here).
Troubleshooting: How to Fix "Unfortunately, SuperSU has stopped" Error?
Step 1: Download and install latest APK SuperSU fix on your device.
Step 2: Open SuperSU app (update the binary if prompted) and let it disable KNOX warranty void bit.
Step 3: Reboot your device.
[Source: XDA]
© Copyright IBTimes 2025. All rights reserved.
- MOST READ


