

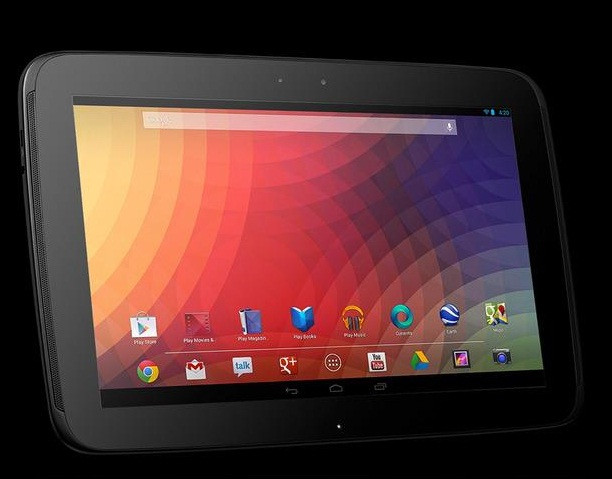
Android 4.4.3 (KTU84L) KitKat OTA Update Arrives for Nexus 10 [How to Install Manually]

Nexus 10 users can now enjoy the latest KitKat features with due release of firmware build number Android 4.4.3 KTU84L via Over-The-Air (OTA) update from Google.
The new KTU84L KitKat update brings a plethora of bug-fixes, tweaks and feature changes over its previous build KOT49H including performance optimisations to Chromium built-in browser, ART, Dalvik, and various fixes for Bluetooth, VPN routing and background services.
Check out the AOSP source code to know more about the feature changes ported into this update.
The Android 4.4.3 KTU84L OTA update can be installed on your Nexus 10 with locked bootloader, using our step-by-step guide below.
IBTimes UK reminds its readers that it will not be held liable for any damage to device during or after the firmware installation. Users are advised to proceed at their own risk.
Pre-requisites
1. Install USB Drivers for Nexus 10 on the computer.
2. Enable USB Debugging Mode on the phone by navigating to Settings >> Developer Options.
3. Back up all your important data before you proceed with the installation process.
4. Ensure the tablet's battery has at least 80% charge.
5. Ensure Android SDK is installed on the computer. If not set up Android SDK and fastboot .
6. Ensure the Nexus 10 is already running on Android 4.4.2 KOT49H official firmware, before you proceed. Otherwise, the firmware installation will fail.
7. The Android 4.4.3 KTU84L KitKat firmware is compatible only with the Nexus 10 tablet. Do not attempt installing this firmware on incorrect variants as it may damage or brick the device. Verify the model number of the Nexus 10 by navigating to Settings >> About tablet.
Downloads Required
Android 4.4.3 (KTU84L) KitKat OTA update (File name: signed-mantaray-KTU84L-from-KOT49H.dacffc0e.zip)
Steps to Install Android 4.4.3 (KTU84L) KitKat OTA Update on Nexus 4
Step 1: Copy the downloaded OTA firmware zip file from the platform-tools folder in the Android SDK directory.
Step 2: Launch a command window from the platform-tools folder. To do so, right-click on empty space within the folder while holding the Shift key. This will bring up the command prompt.
Step 3: Now connect Nexus 10 to computer, type the following command and then hit Enter:
adb reboot bootloader
Step 4: Your Nexus 10 will now reboot in Bootloader mode.
Step 5: Use Volume Up/Volume Down keys to navigate, and then select Recovery mode option by pressing the Power button.
Step 6: Wait until the Android icon with red exclamation mark appears on screen, then press and hold Power button while simultaneously tapping the Volume Up key.
Step 7: Your Nexus 10 should now enter Recovery mode.
Step 8: Use Volume Down key to highlight apply update from ADB option and then hit Power button to select it.
Step 9: Launch the command terminal again and then type the following command followed by the name of OTA package which you downloaded. Since your OTA package is signed-mantaray-KTU84L-from-KOT49H.dacffc0e.zip, you have to type:
adb.exe sideload signed-mantaray-KTU84L-from-KOT49H.dacffc0e.zip
Step 10: If you are using a Mac or Linux computer, enter the following command:
./adb-mac sideload signed-mantaray-KTU84L-from-KOT49H.dacffc0e.zip
./adb sideload signed-mantaray-KTU84L-from-KOT49H.dacffc0e.zip Step 11: Now the OTA update should start installing on your Nexus 10.
Step 12: Once the update completes, just choose reboot system now option in Recovery.
Wait until the device reboots to the homescreen. Then go to Settings > About tablet to confirm the firmware version installed.
[Source: Android Police]
© Copyright IBTimes 2025. All rights reserved.
- MOST READ


