

Install Android 4.1.1 AOKP Jelly Bean Build 4 Custom Firmware on Galaxy Nexus [Guide]
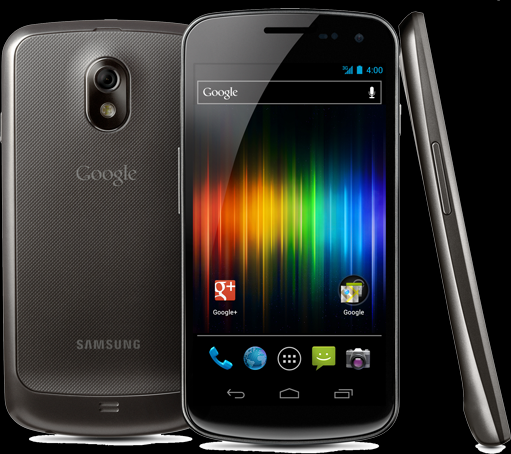
With the release of Build 4 of the Android 4.1 (Jelly Bean) based custom firmware, the Galaxy Nexus i9250 now gets an opportunity to run the new firmware. Just a week ago, the Android Open Kang Project (AOKP) team had released the Build 3 of the Jelly Bean based firmware that has already been ported to several devices. The update is said to bring several bug fixes.
The AOKP Jelly Bean Build 4 firmware reportedly features custom NavBar ring on tablets, force dual panel view, flip or shake method to snooze/dismiss alarm, allows you to take screenshot from NavBar and enables USB mass storage emulation for certain devices.
Check out the guide below to install AOKP Jelly Bean Build 4 firmware. IBTimes UK cautions users to proceed at their own risk and we will not be held responsible if you damage or brick your device. Users are advised to backup all their data. Please note that the AOKP Jelly Bean Build 4 firmware can be installed only on the international variant of Galaxy Nexus carrying i9250 model number.
Pre-requisites:
- Install all USB drivers for the Galaxy Nexus. Skip the step if already installed
- Enable USB debugging mode
- Ensure that your phone has a charge of at least 80 to 85 per cent
- Make sure that your phone is factory unlocked
- Perform Nandroid backup of your existing ROM
- Finally, your phone has to be rooted and should have ClockworkMod (CWM) recovery installed in it
Check out the step-by-step instructions below to install the Jelly Bean AOKP Build 4 custom firmware on Galaxy Nexus i9250:
- Download Jelly Bean AOKP Build 3 custom firmware and Google Apps
- Connect and mount your Galaxy Nexus USB memory on your PC using USB cable
- Copy both downloaded files in step 1 to your device's SD card
- Turn off your phone and enter into bootloader mode. Turn on the phone, while keep holding Volume Up + Volume Down + Power buttons
- Follow onscreen instructions and choose Bootloader and then go to Recovery
- In CWM recovery, perform wipe data and scroll to "flash zip from SD card"
- Select 'choose zip from sdcard"
- Navigate to and select the custom firmware zip file. Confirm the installation by tapping on "Yes". Installation will begin
- Repeat the above step to install Google Apps
- On completing the installation, go to '+++++Go Back" and reboot the device by choosing "reboot system now" from recovery menu.
You have now installed Jelly Bean AOKP Build 3 custom firmware on your Galaxy Nexus.
[Source: TeamAndroid]
© Copyright IBTimes 2025. All rights reserved.
- MOST POPULAR IN Technology


